Get Your Website Contact Form Away From Spam

You may just finished your own website, and added a contact form and waiting for any potential customers requesting further information from you. However, few days passed, most of the email you have received are spam. Such as this:
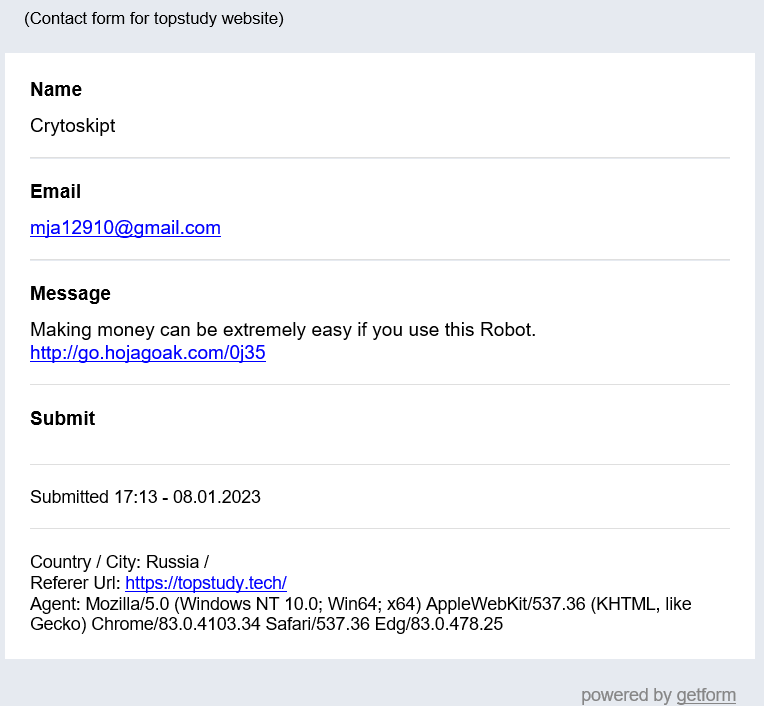
This is one of the examples in my inbox. I got this kind of email several times per day. Later on, I’m not excited to check the new email from the contact form.
Yes, we can simply ignore these spam emails by deleting them. However, it still consume our attention, and we might not response the truly valuable emails in time because of them. Therefore, we need to find a way to help us get away from spam emails.
Introducing reCAPTCHA
reCAPTCHA is a common way to solve this problem. According to the definition from Google:
reCAPTCHA uses an advanced risk analysis engine and adaptive challenges to keep malicious software from engaging in abusive activities on your website. Meanwhile, legitimate users will be able to login, make purchases, view pages, or create accounts and fake users will be blocked.
reCAPTCHA v3 vs. v2
There are two versions of reCAPTCHA for common use (reCAPTCHA v3 vs. v2). The definition of them are:
reCAPTCHA v2: reCAPTCHA v2 verifies if an interaction is legitimate with the “I am not a robot” checkbox and invisible reCAPTCHA badge challenges.
reCAPTCHA v3: reCAPTCHA v3 verifies requests with a score and gives you the ability to take action in the context of your site.
You may familiar with reCAPTCHA v2 more because it requires more interaction with users, such as select the correct pictures from 9 pictures.
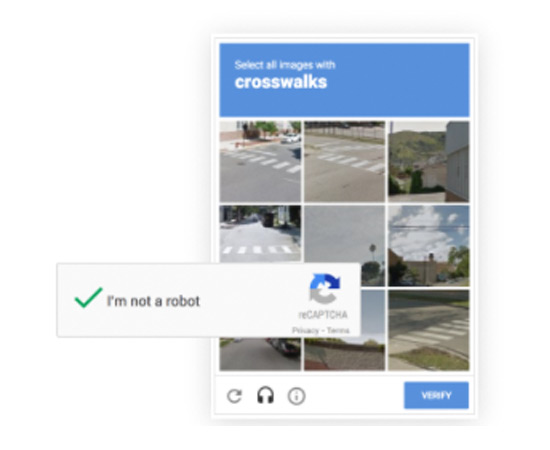
But for my website, I prefer reCAPTCHA v3 since it is more customer-friendly. It allows you to verify if an interaction is legitimate without any user interaction.
Integration with reCAPTCHA v3
My website is using Getform to enable users to send “Get a demo” request via a contact form. Getform will collect the submission and send them to my email. It is easy to integrate reCAPTCHA v3 with Getform.
Step 1 - Get API Keys
First of all, we need to get an API key from Google reCAPTCHA Console. After login to Google reCAPTCHA Console, we need to create a new site and add our domains.
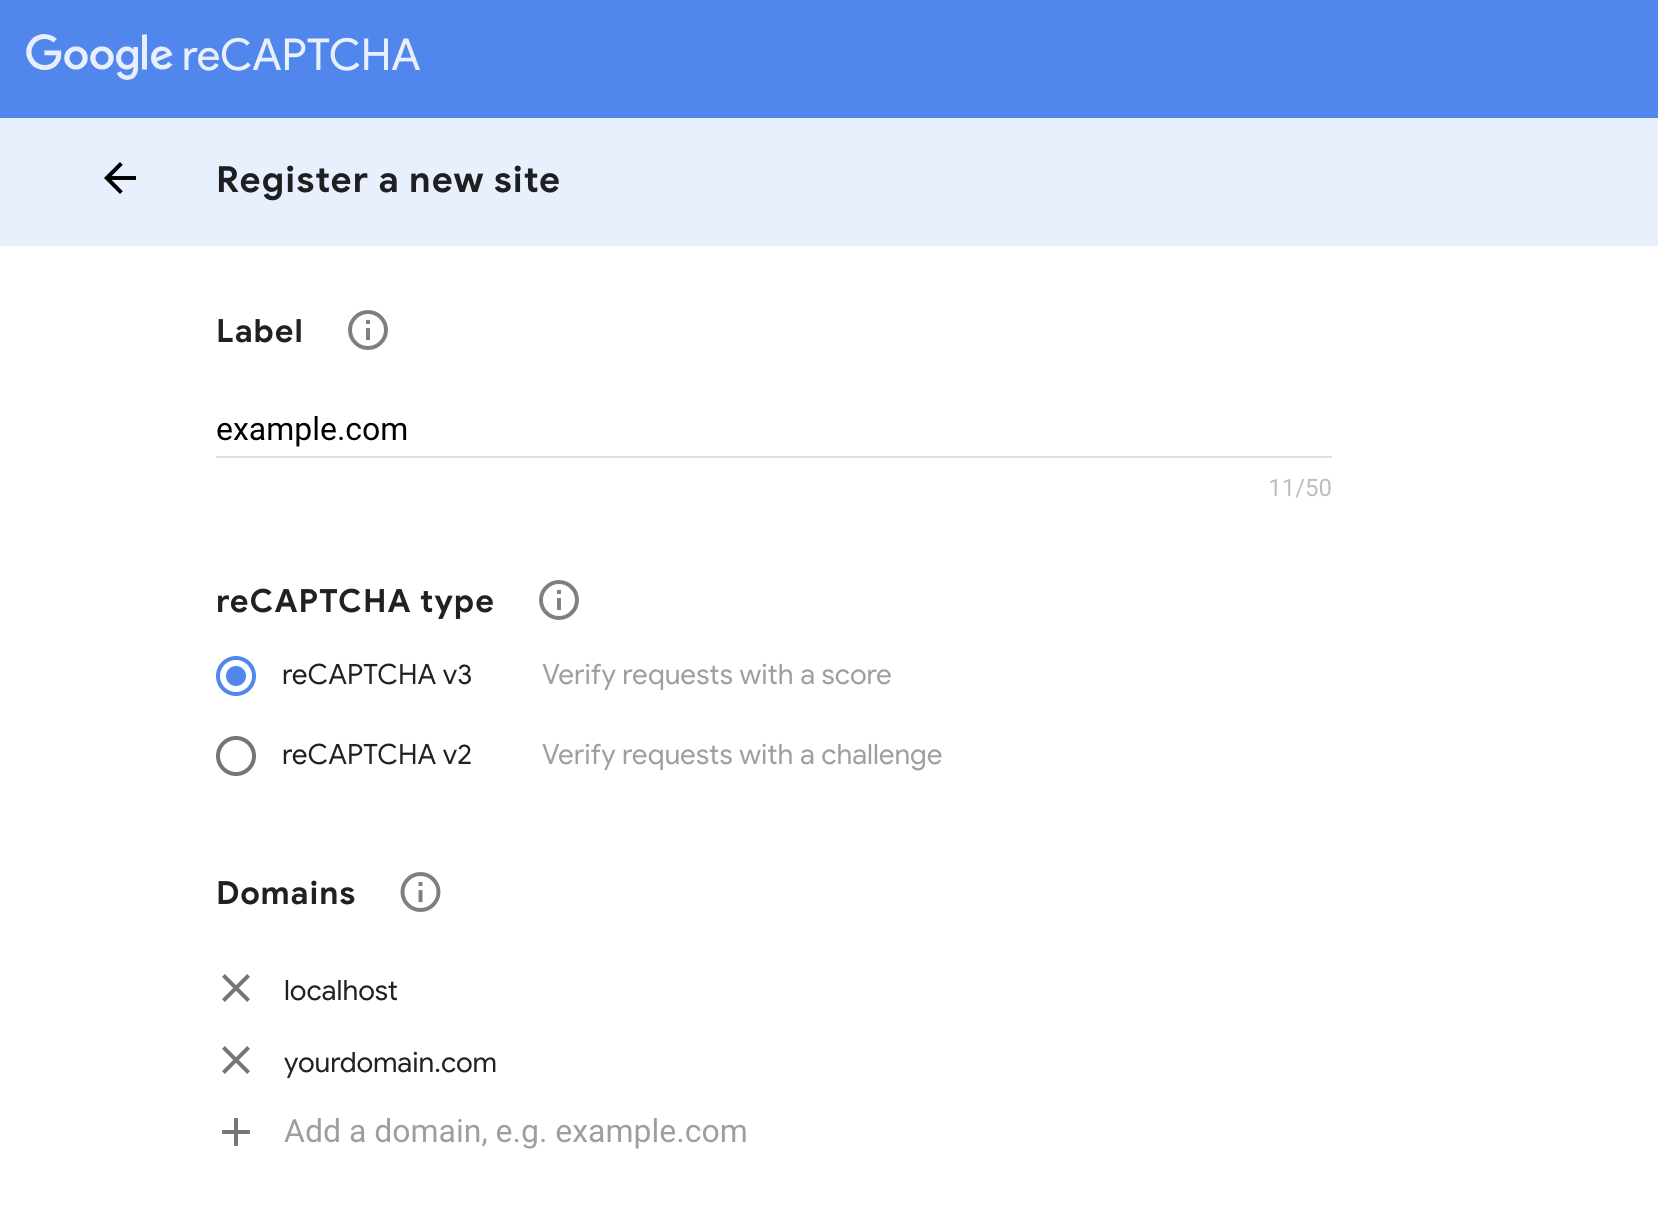
For testing it locally, we suggest that add localhost into the domain list.
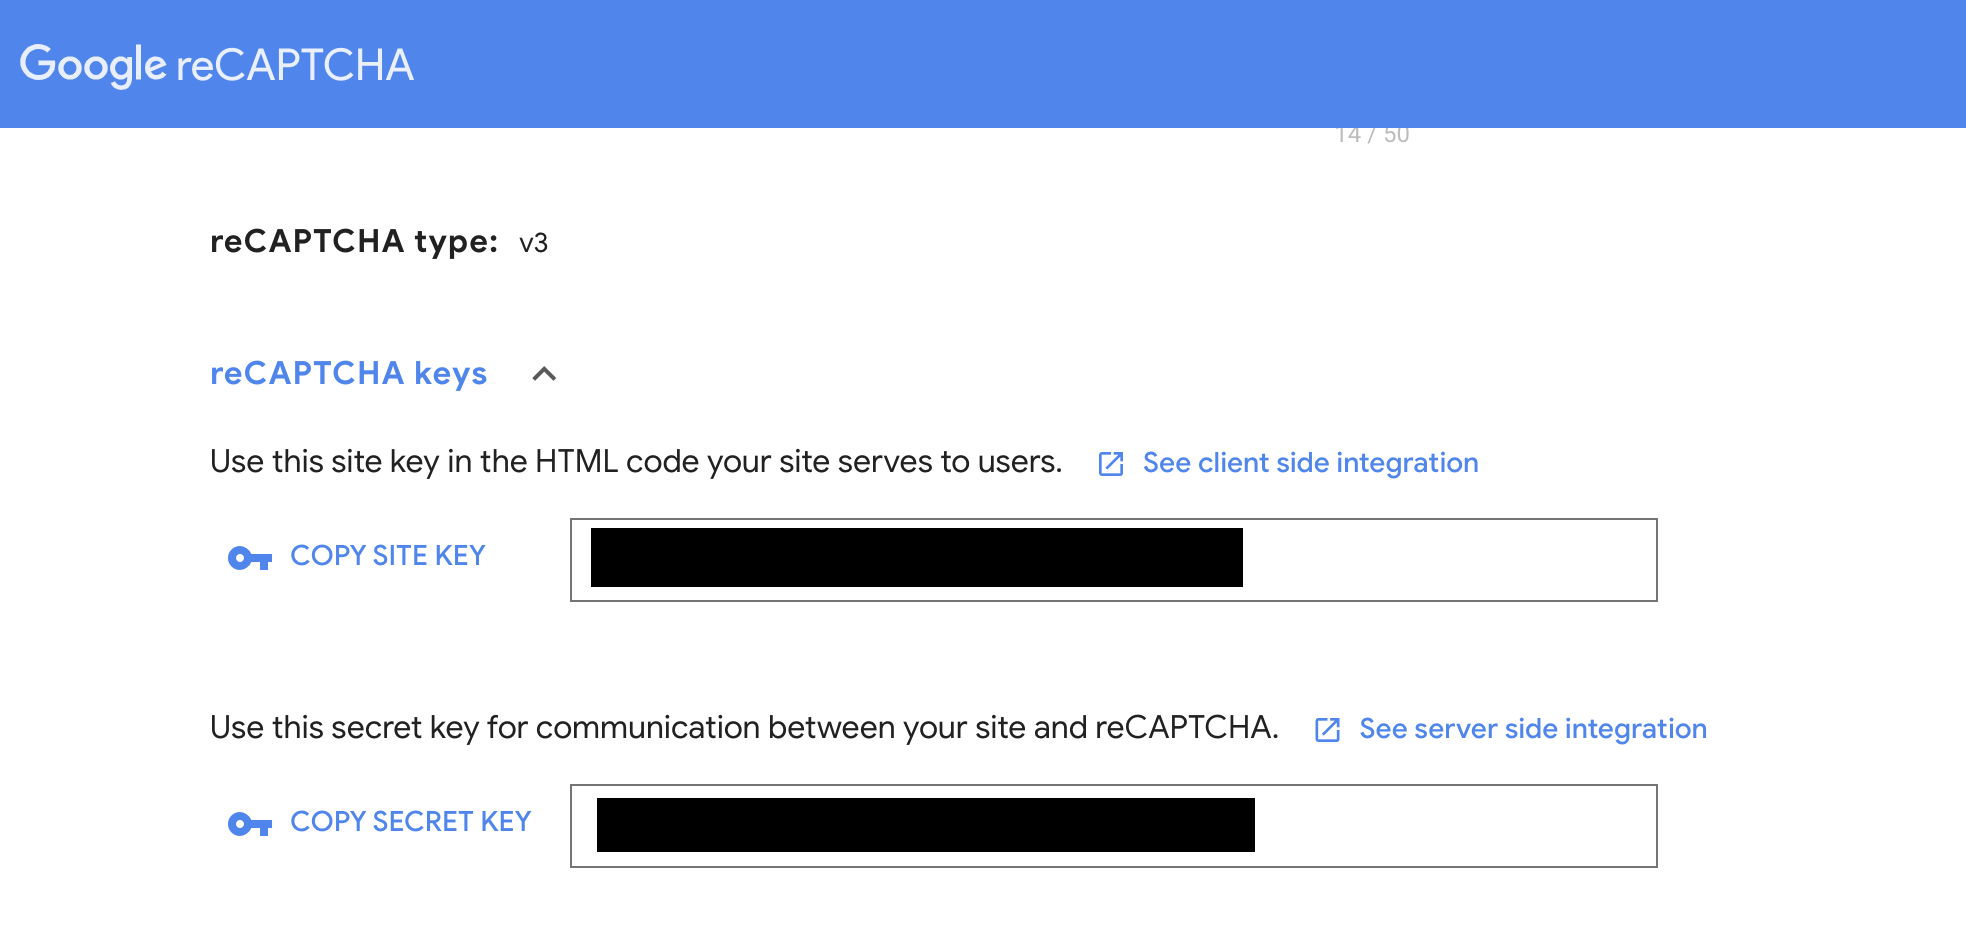
Click “submit” button, Google will create API keys for your domain.
Step 2 - Add reCAPTCHA Library
After we got the site key and secret key, we will use them for our site.
First, we need to add reCAPTCHA library into your <head> tags. In my case, I added it into my <footer> tags, and it also works.
<script src="https://www.google.com/recaptcha/api.js?render=reCAPTCHA_site_key"></script>
Step 3 - Add Hidden Element
We also need to add a hidden reCAPTCHA <input> into our form. It could be anywhere but inside the <form> element.
<input type="hidden" id="captchaResponse" name="g-recaptcha-response">
Step 4 - Insert Token to our Hidden Element
In this step, we need to send a request to Google for returning a token. Then, we need to send the token to our backend to check if it is a spam.
To make Getform validate the token, we need to insert the token to our hidden input.
We need to insert the code below. In my case, I placed it under the <script> I added in step 2.
<script>
   grecaptcha.ready(function() {
       grecaptcha.execute('YOUR_SITE_KEY', {action: 'homepage'})
       .then(function(token) {
         document.getElementById('captchaResponse').value = token;
       });
     });
</script>
Step 5 - Setup Secret Key
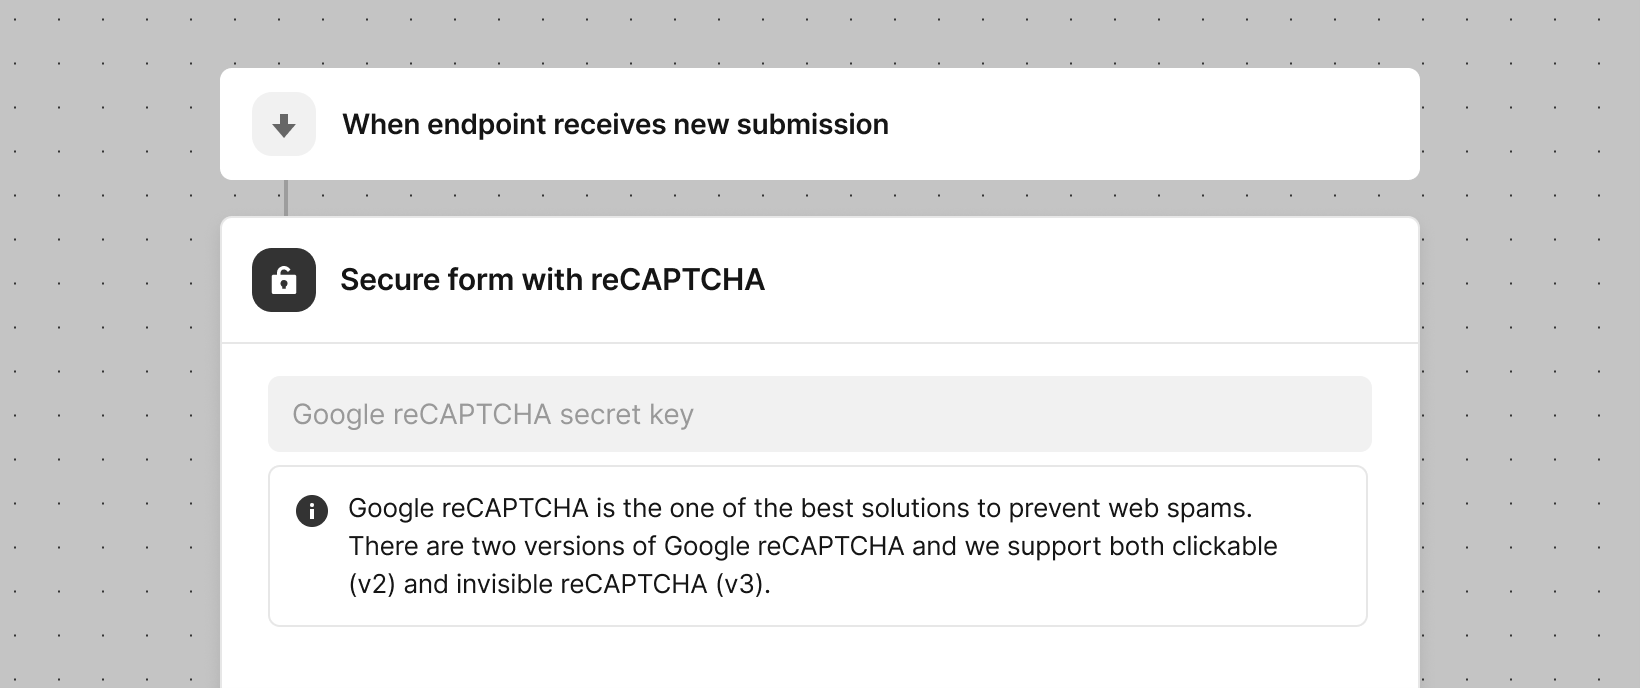
In the last step, we need to navigate to Getform console to setup the secret key.
- Select the form endpoint on the left panel
- Click the Automation button on the top right comer
- Select “Secure endpoint with reCaptcha” automation and paste it under the “reCAPTCHA Key” section anc click “Complete”
- Finally click “Save” on top to save your automation.
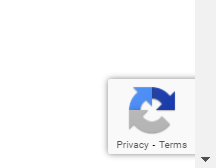
After finish all the steps, you can see the reCAPTCHA logo on the bottom right corner showing that it is enabled. For my website, I haven’t received any spam emails anymore!
 William Yu