How to Post an Article in WordPress
Intro
If you have a personal website, or you have a website for your own business, you would like to post some news or articles to make your website more active. However, if your website is developed by others, the only thing you know is that your website is built by WordPress and your username and password. How could you post articles in your website? Now, this tutorial will guide you through the process.
Login to your website
First of all, you need to login to your website using your username and password. To do so, you need to open your browser and input the url for your website login. Usually, the default login URL is: yourwebsite.com/wp-admin
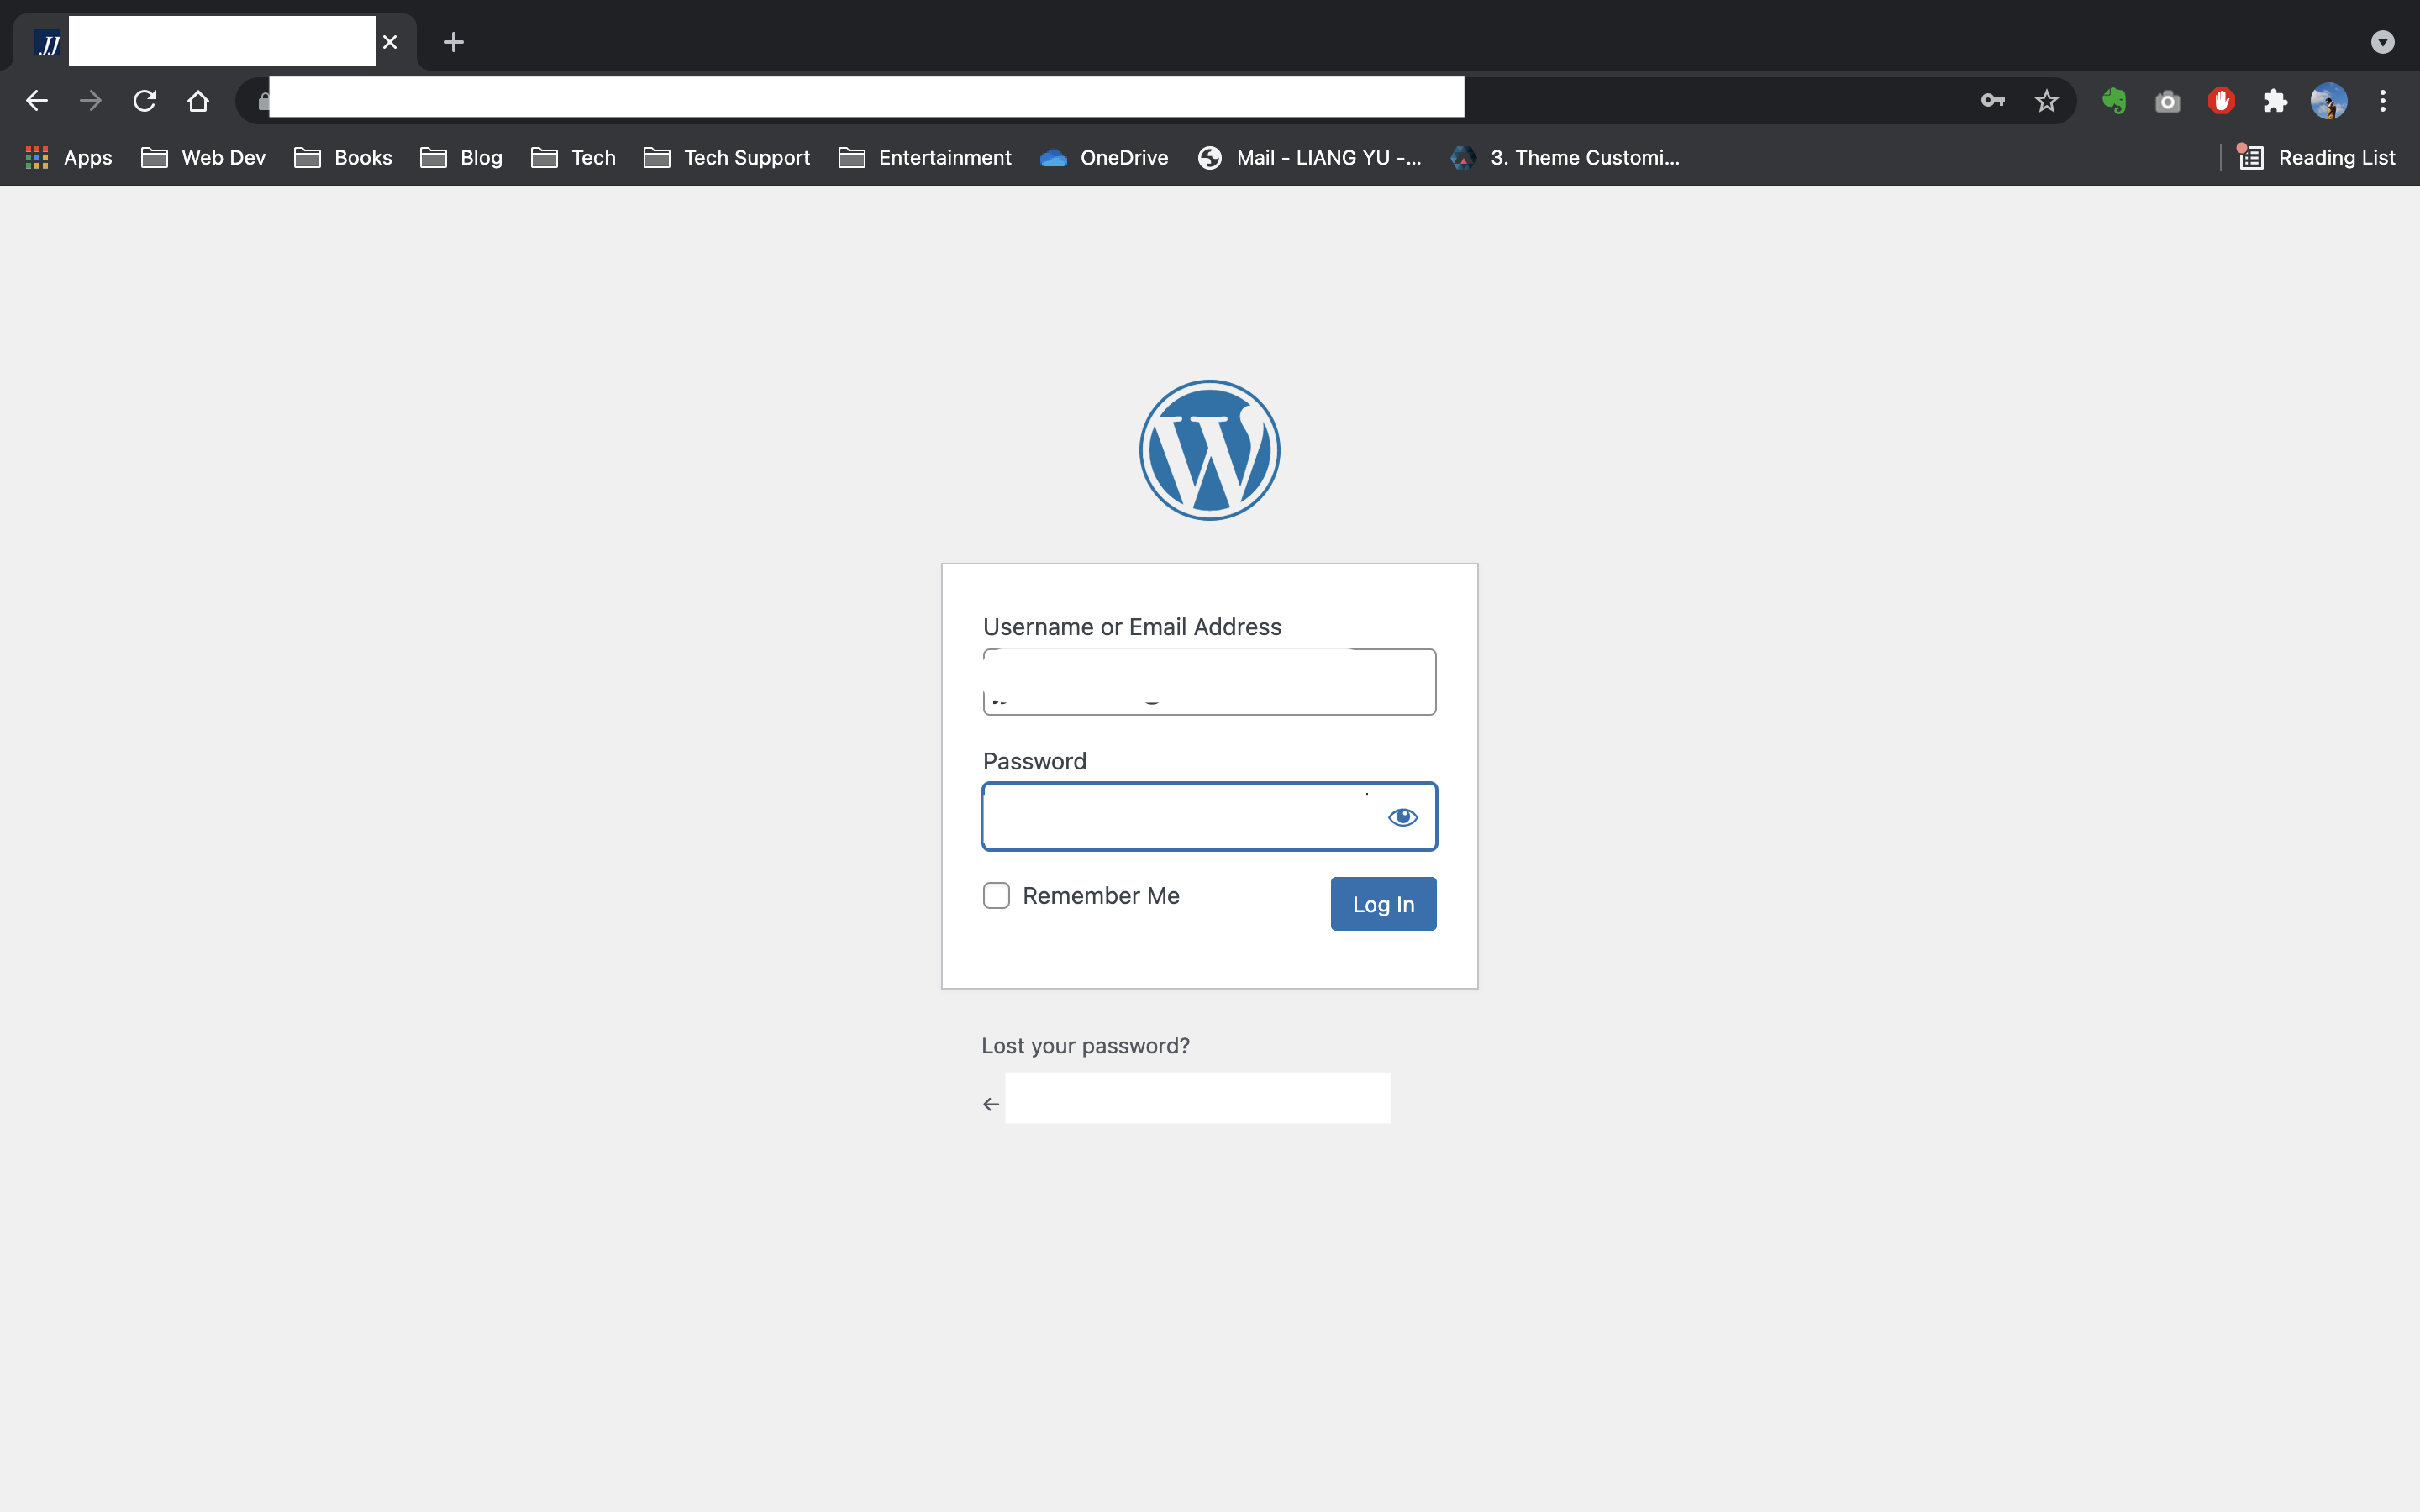
Enter your username or email address and your password for login.
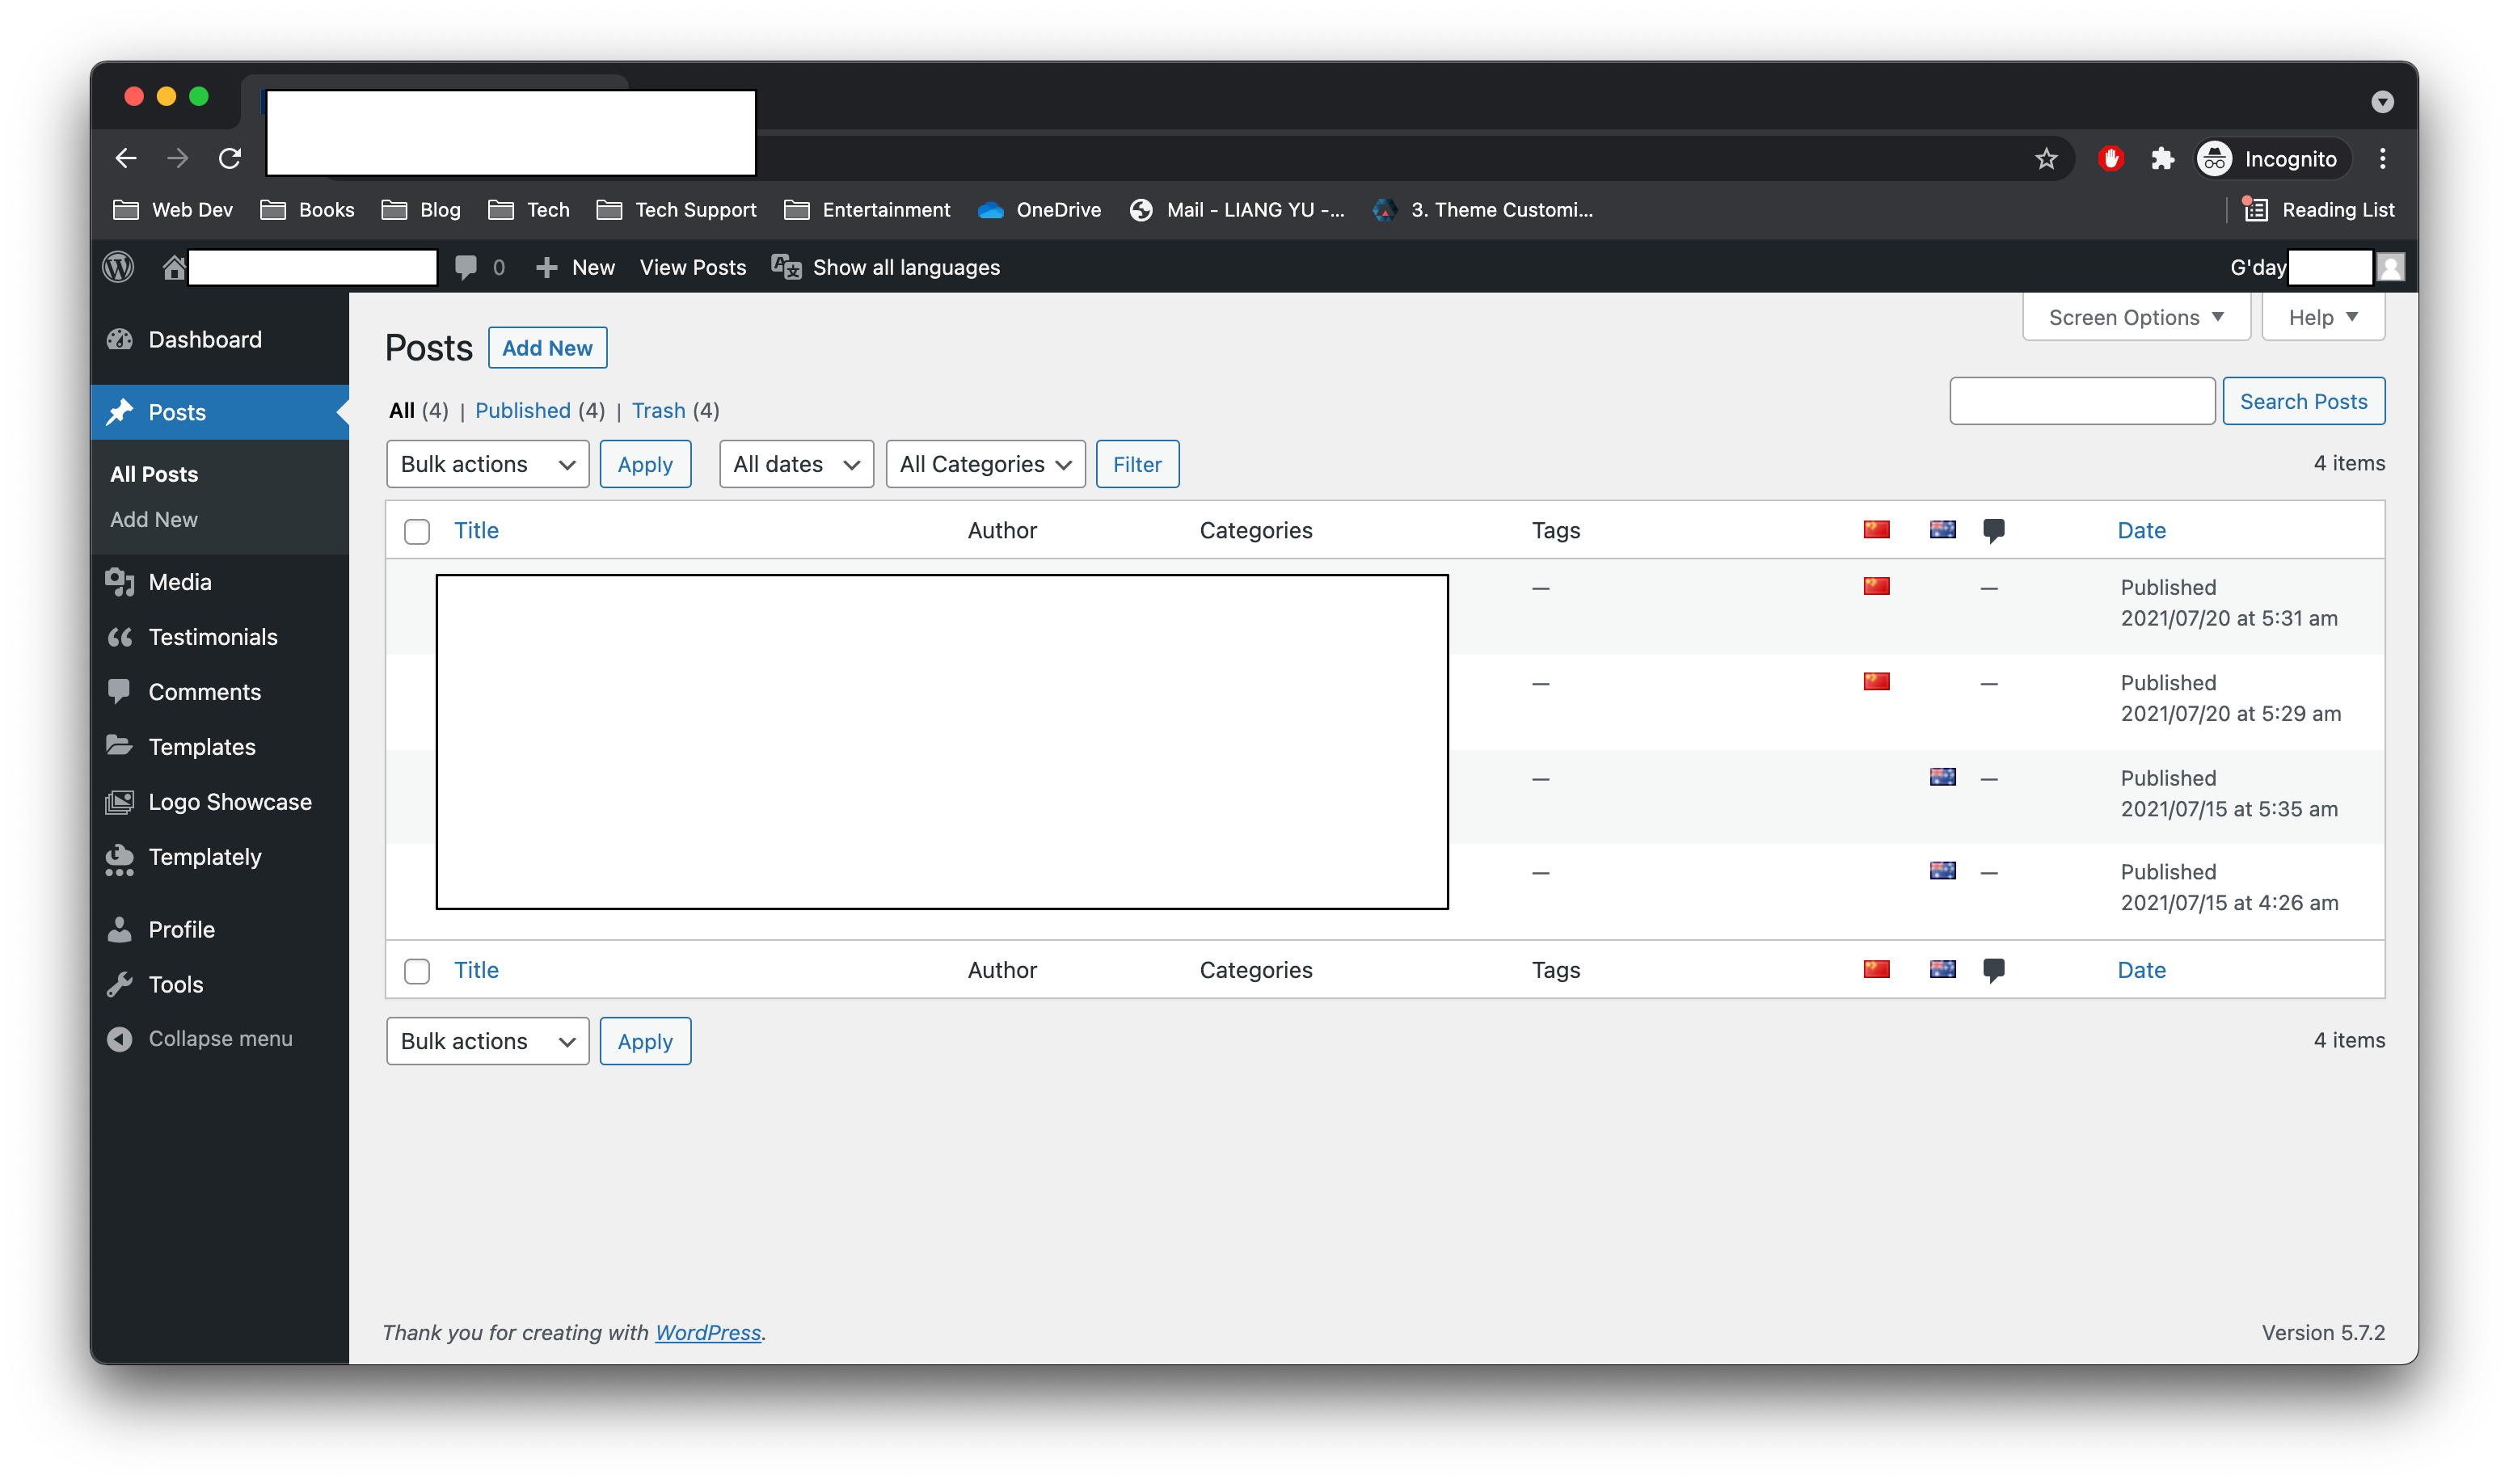
Dashboard of WordPress
When you login successfully, you can see the dashboard of WordPress.You may not be able to see the options for website development or configurations since you role is not administrator. Fortunately, these available options are enough for you to post news or articles.
Change the password
Before trying to post any articles, you may think that you need to change the password since the default password is too long or insecure. You can find the profile option at the left panel and click it. Then, scroll a little bit, you can find in the “Account Management” section, click the “Set New Password” button, there would be generating a random password and you can change it with your own password.
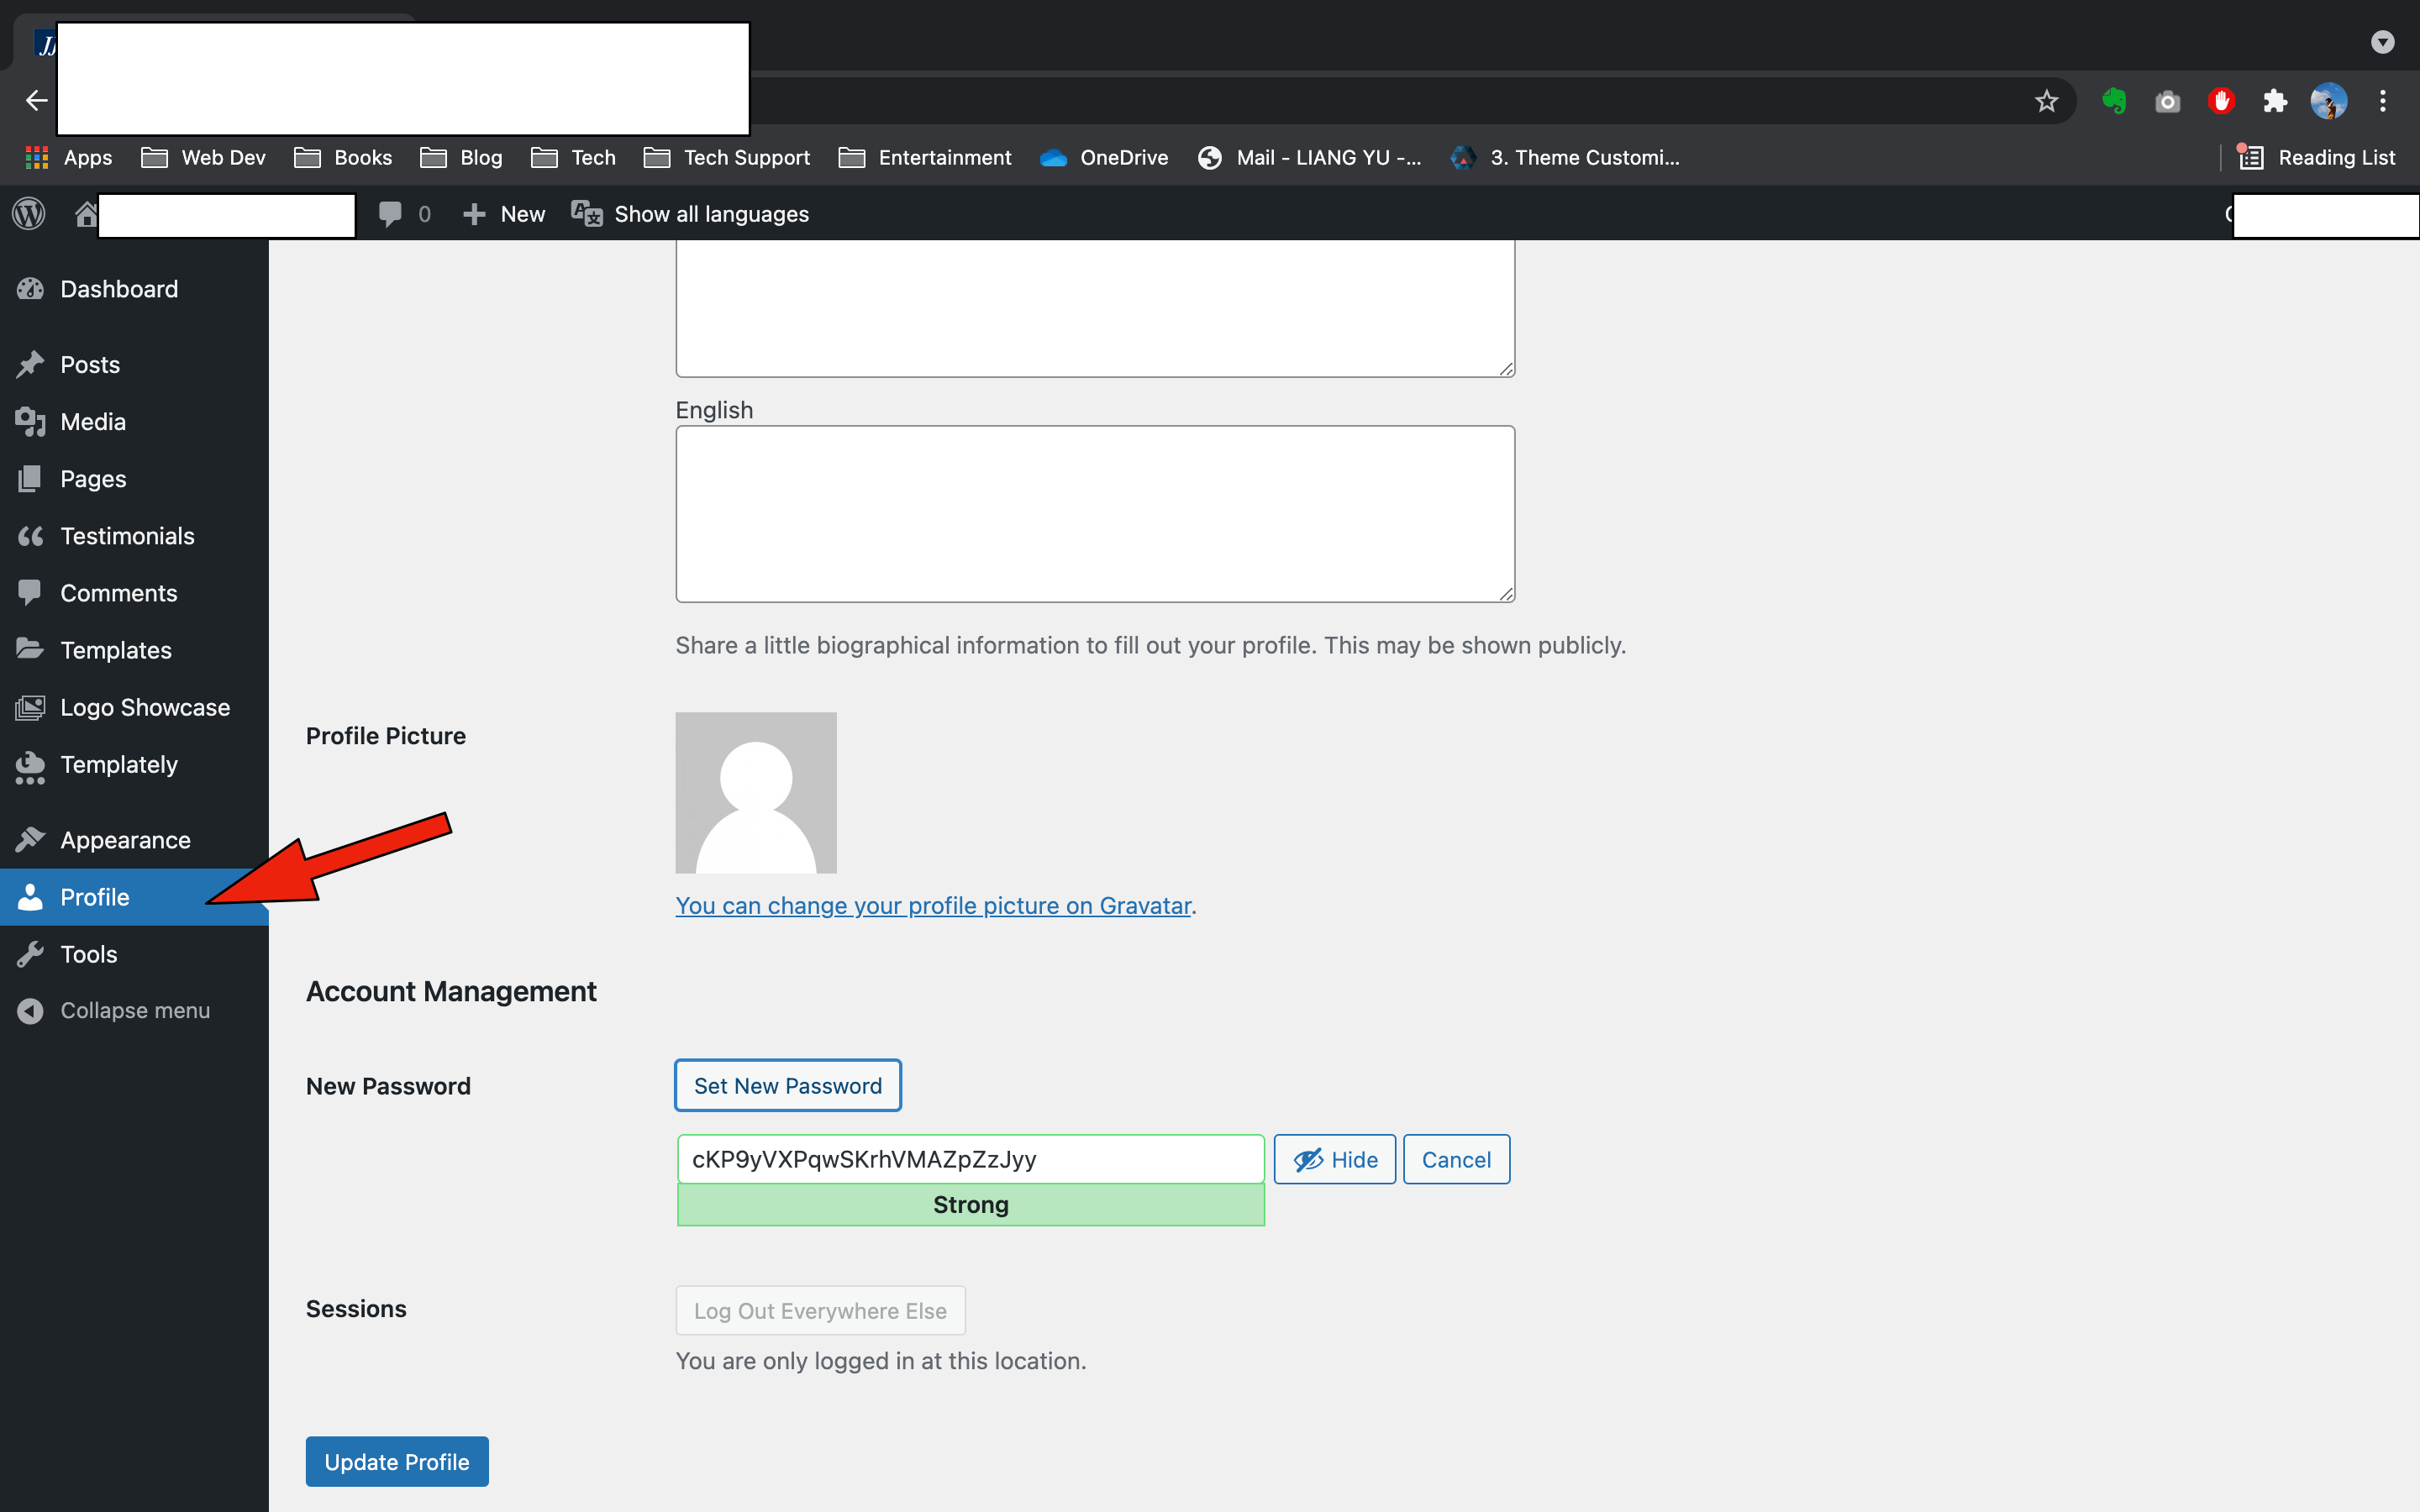
When you entered your own password, click the “update profile” button to save the new password.
You may need to re-login with your new password.
Create a post in WordPress
Setting up the title and the featured image
Now, it is the time to post an article. In WordPress, a web page for article is called “post”. To create a post, you need to click the “Post” tab in the left panel and click “Add New” option.
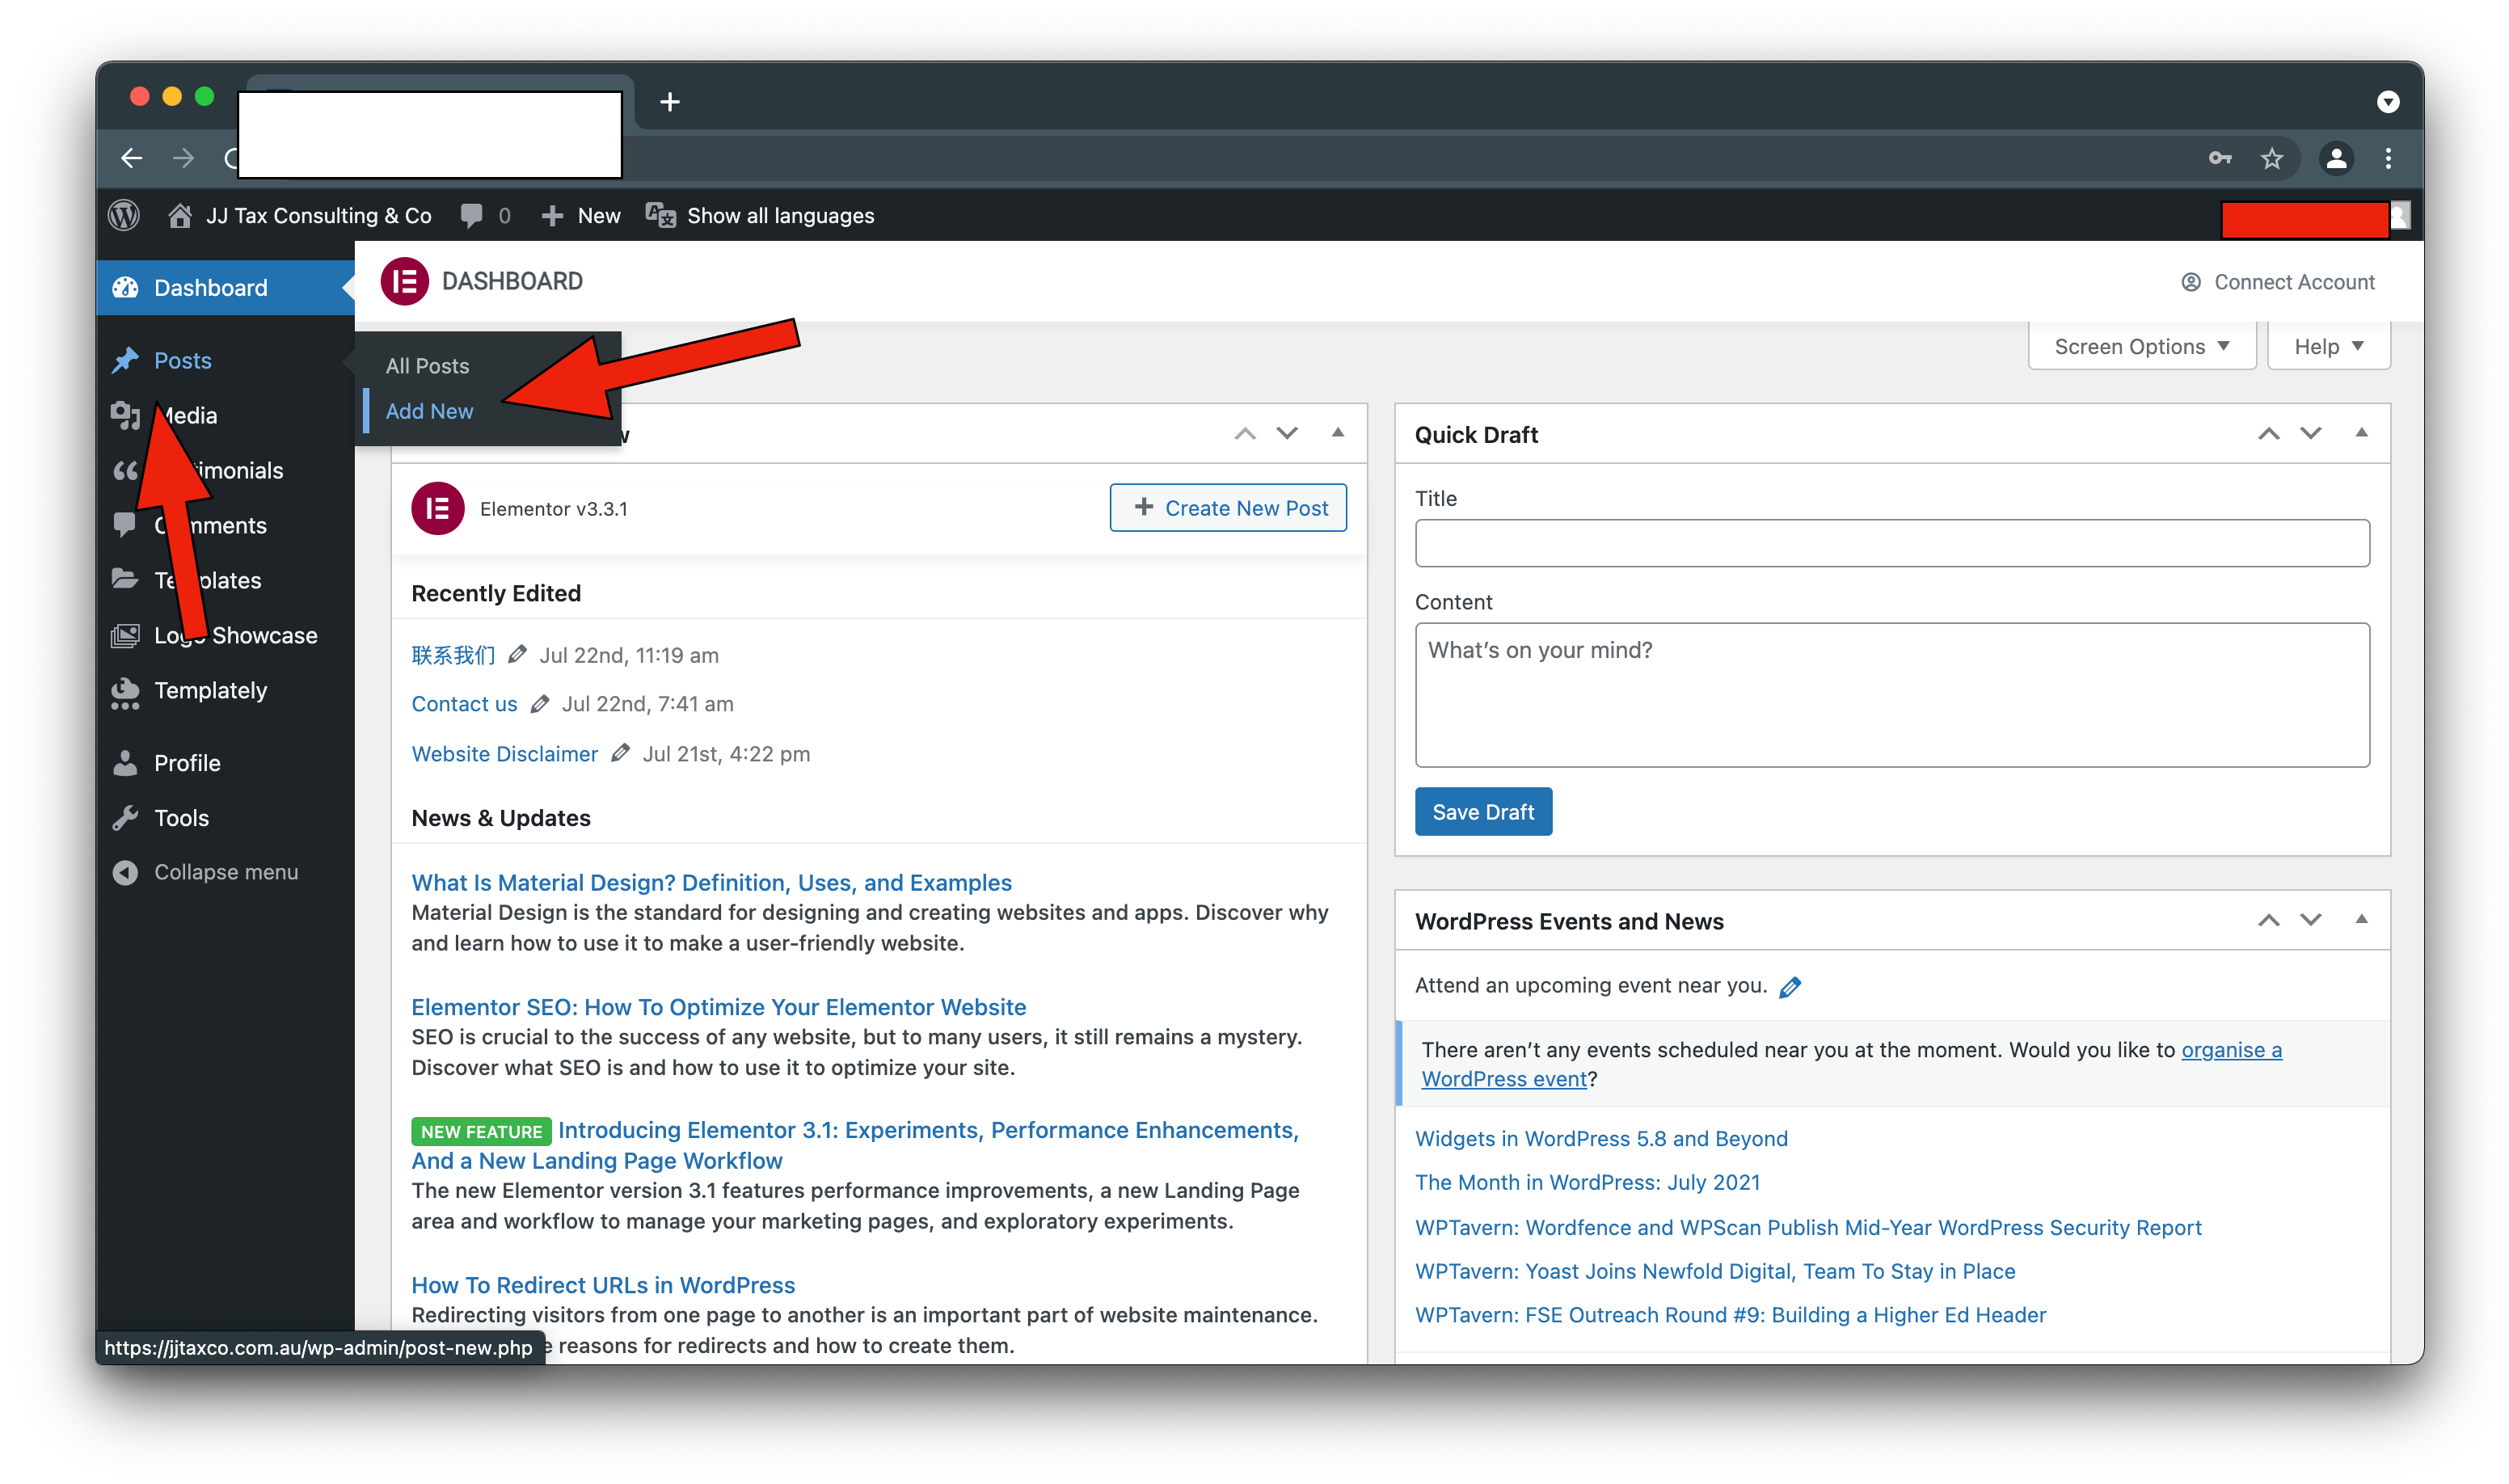
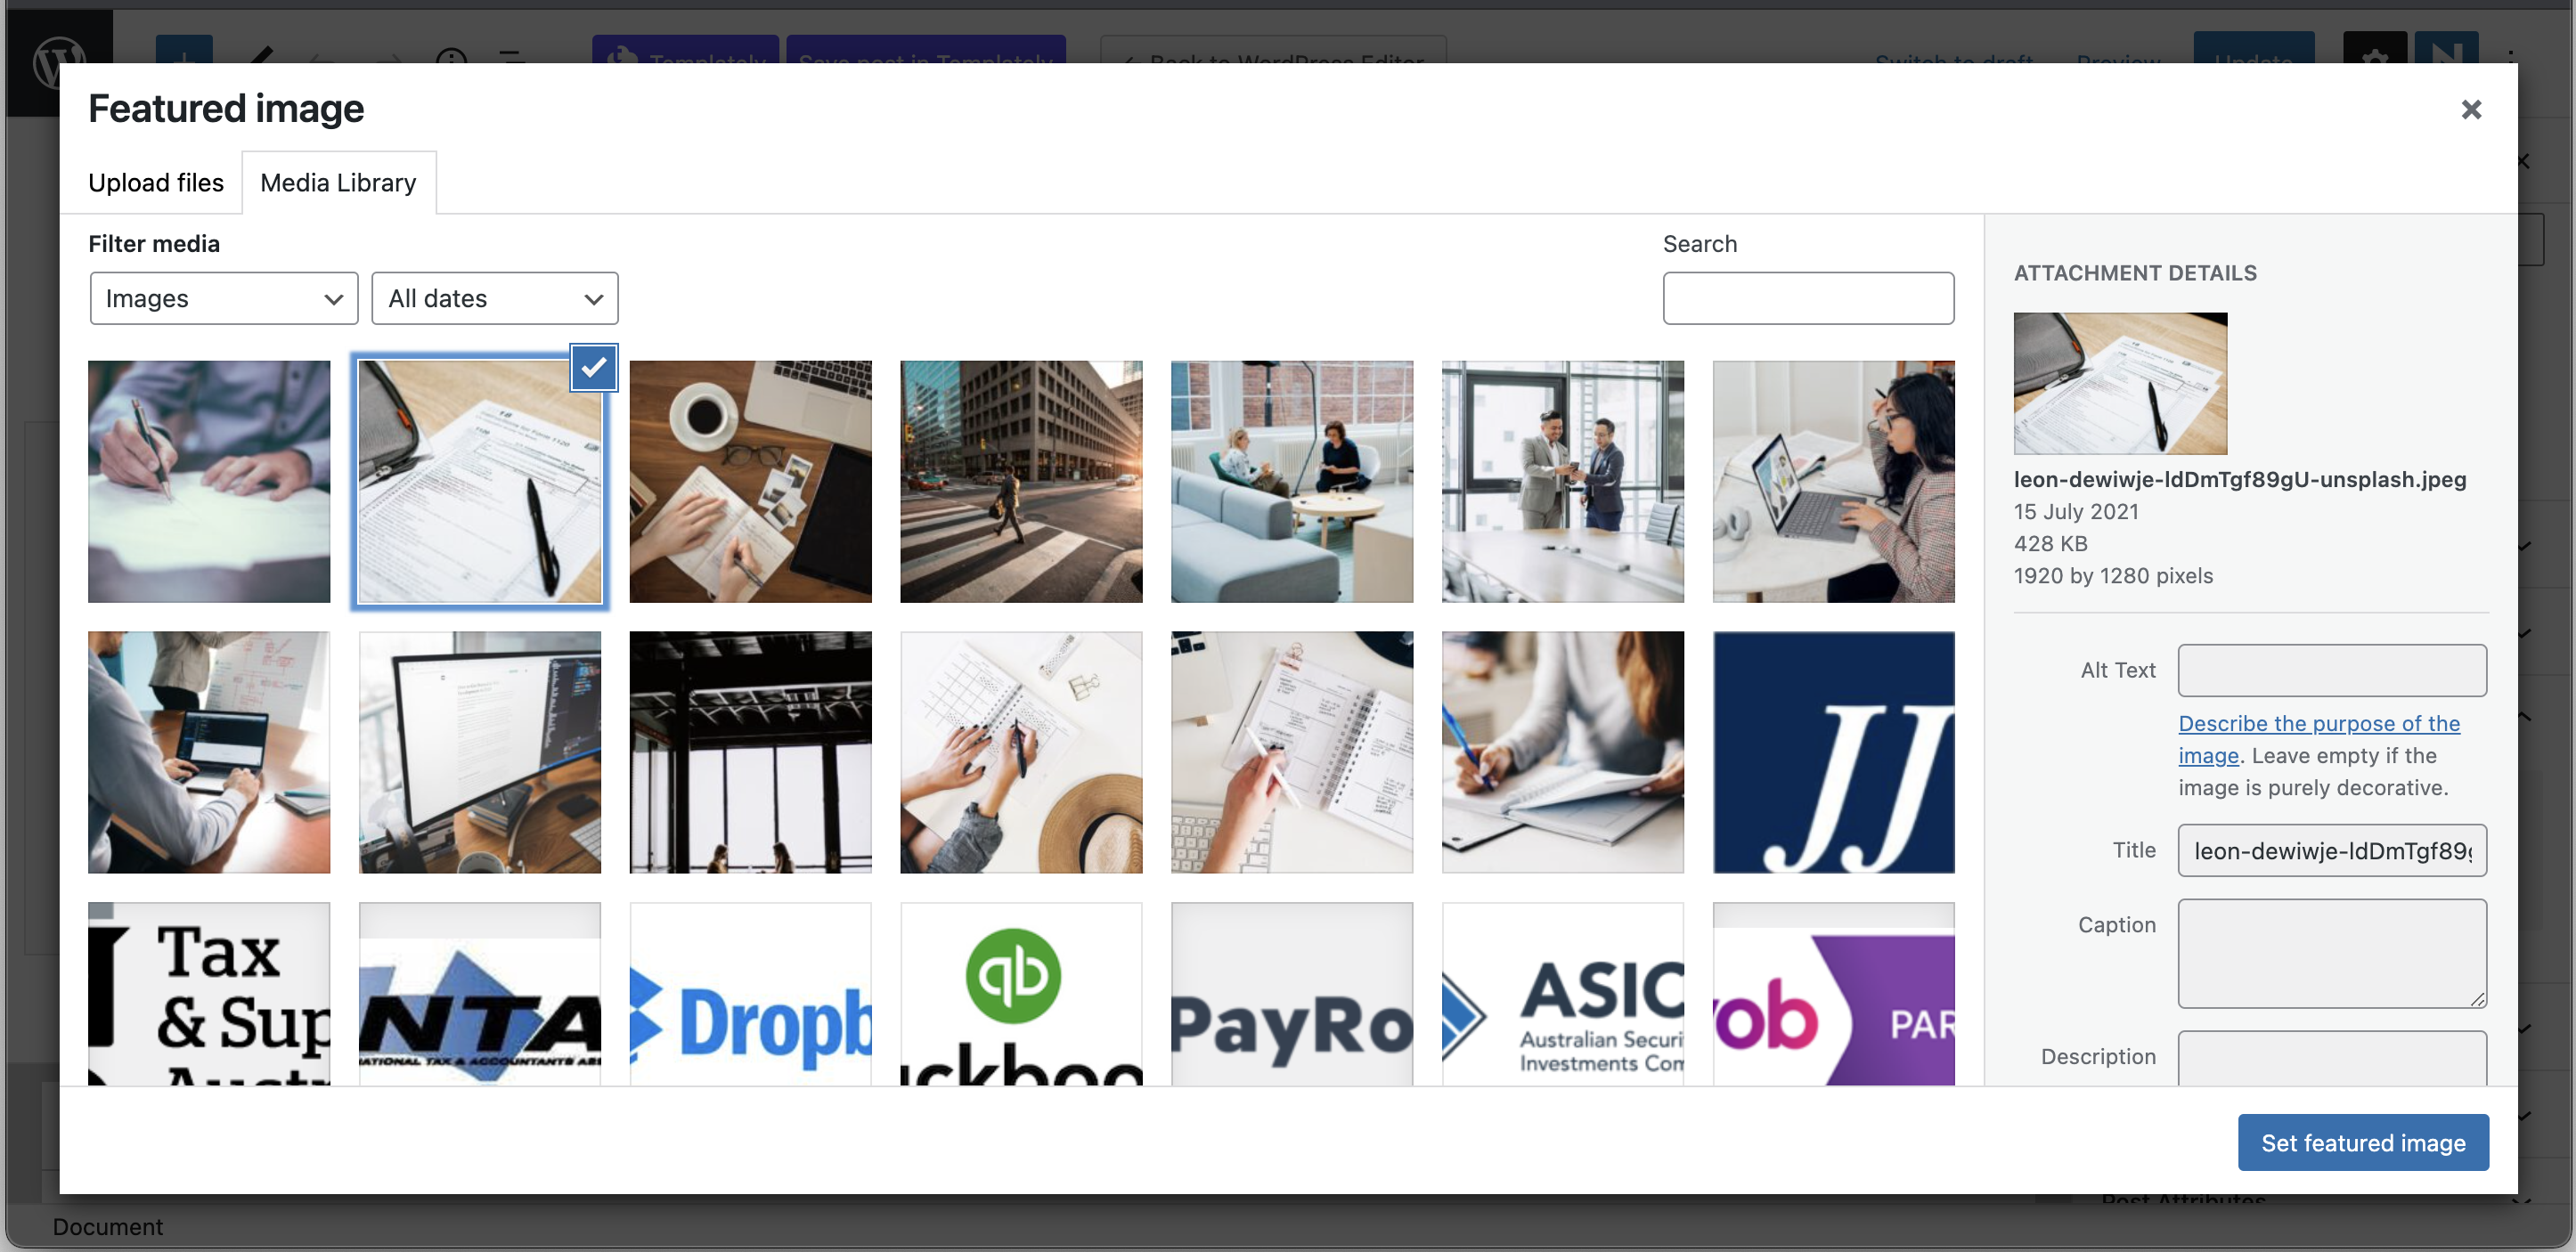
In the “Add New Post” page, you need to enter the title of the post first, and add the featured image next.
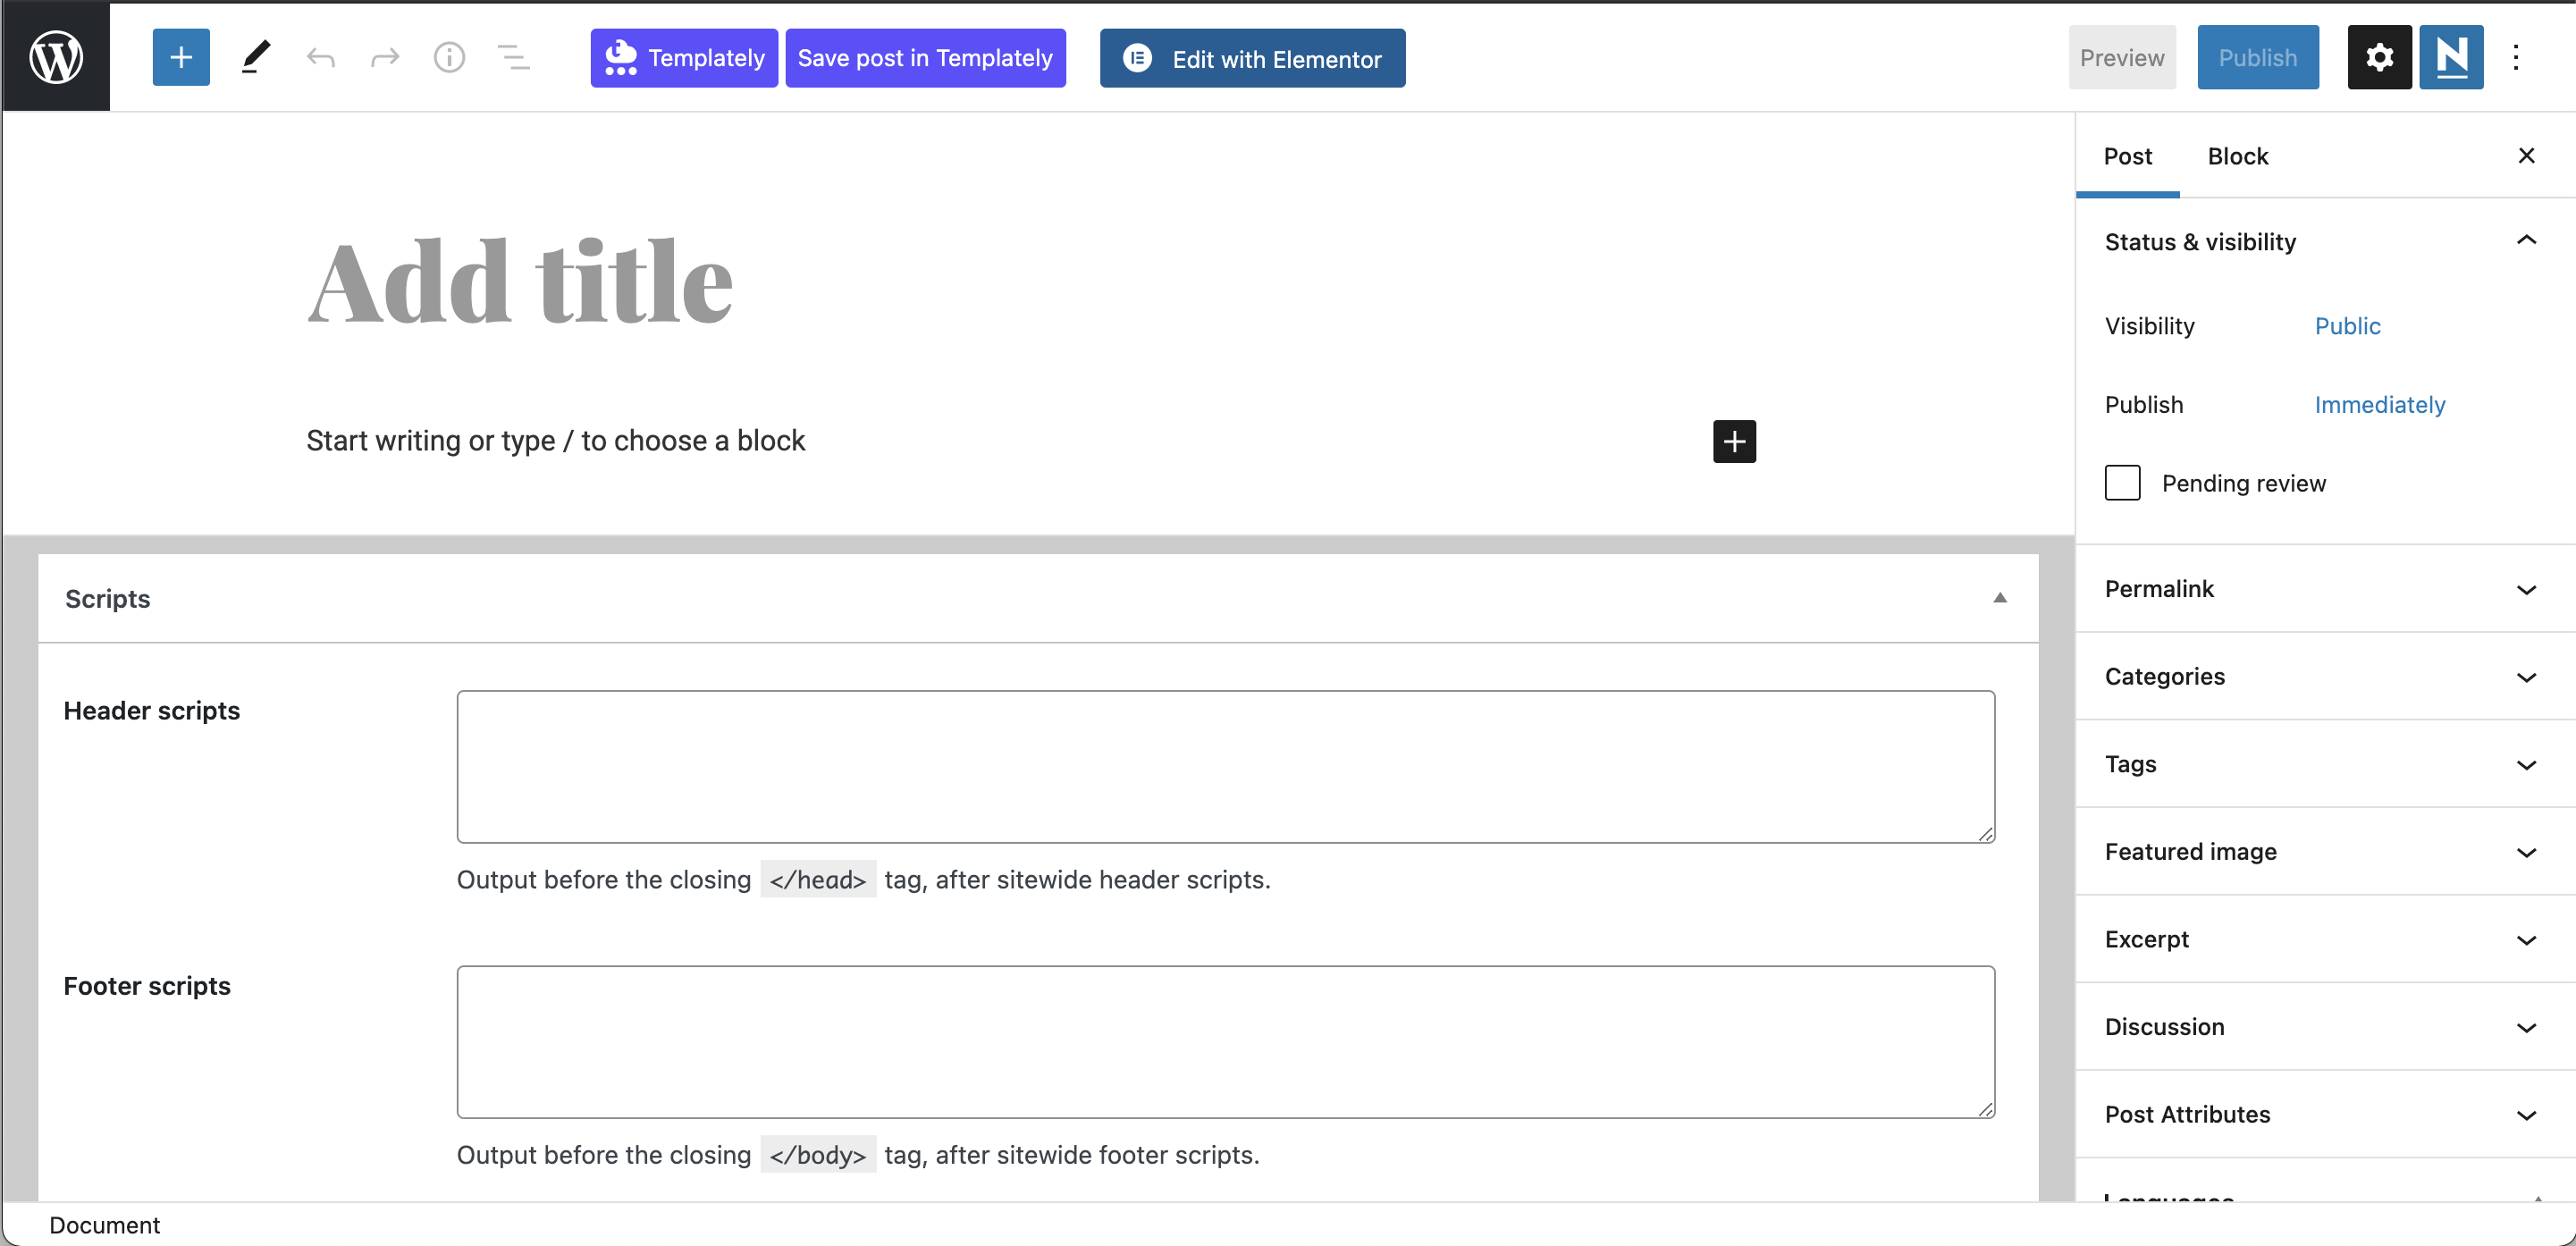
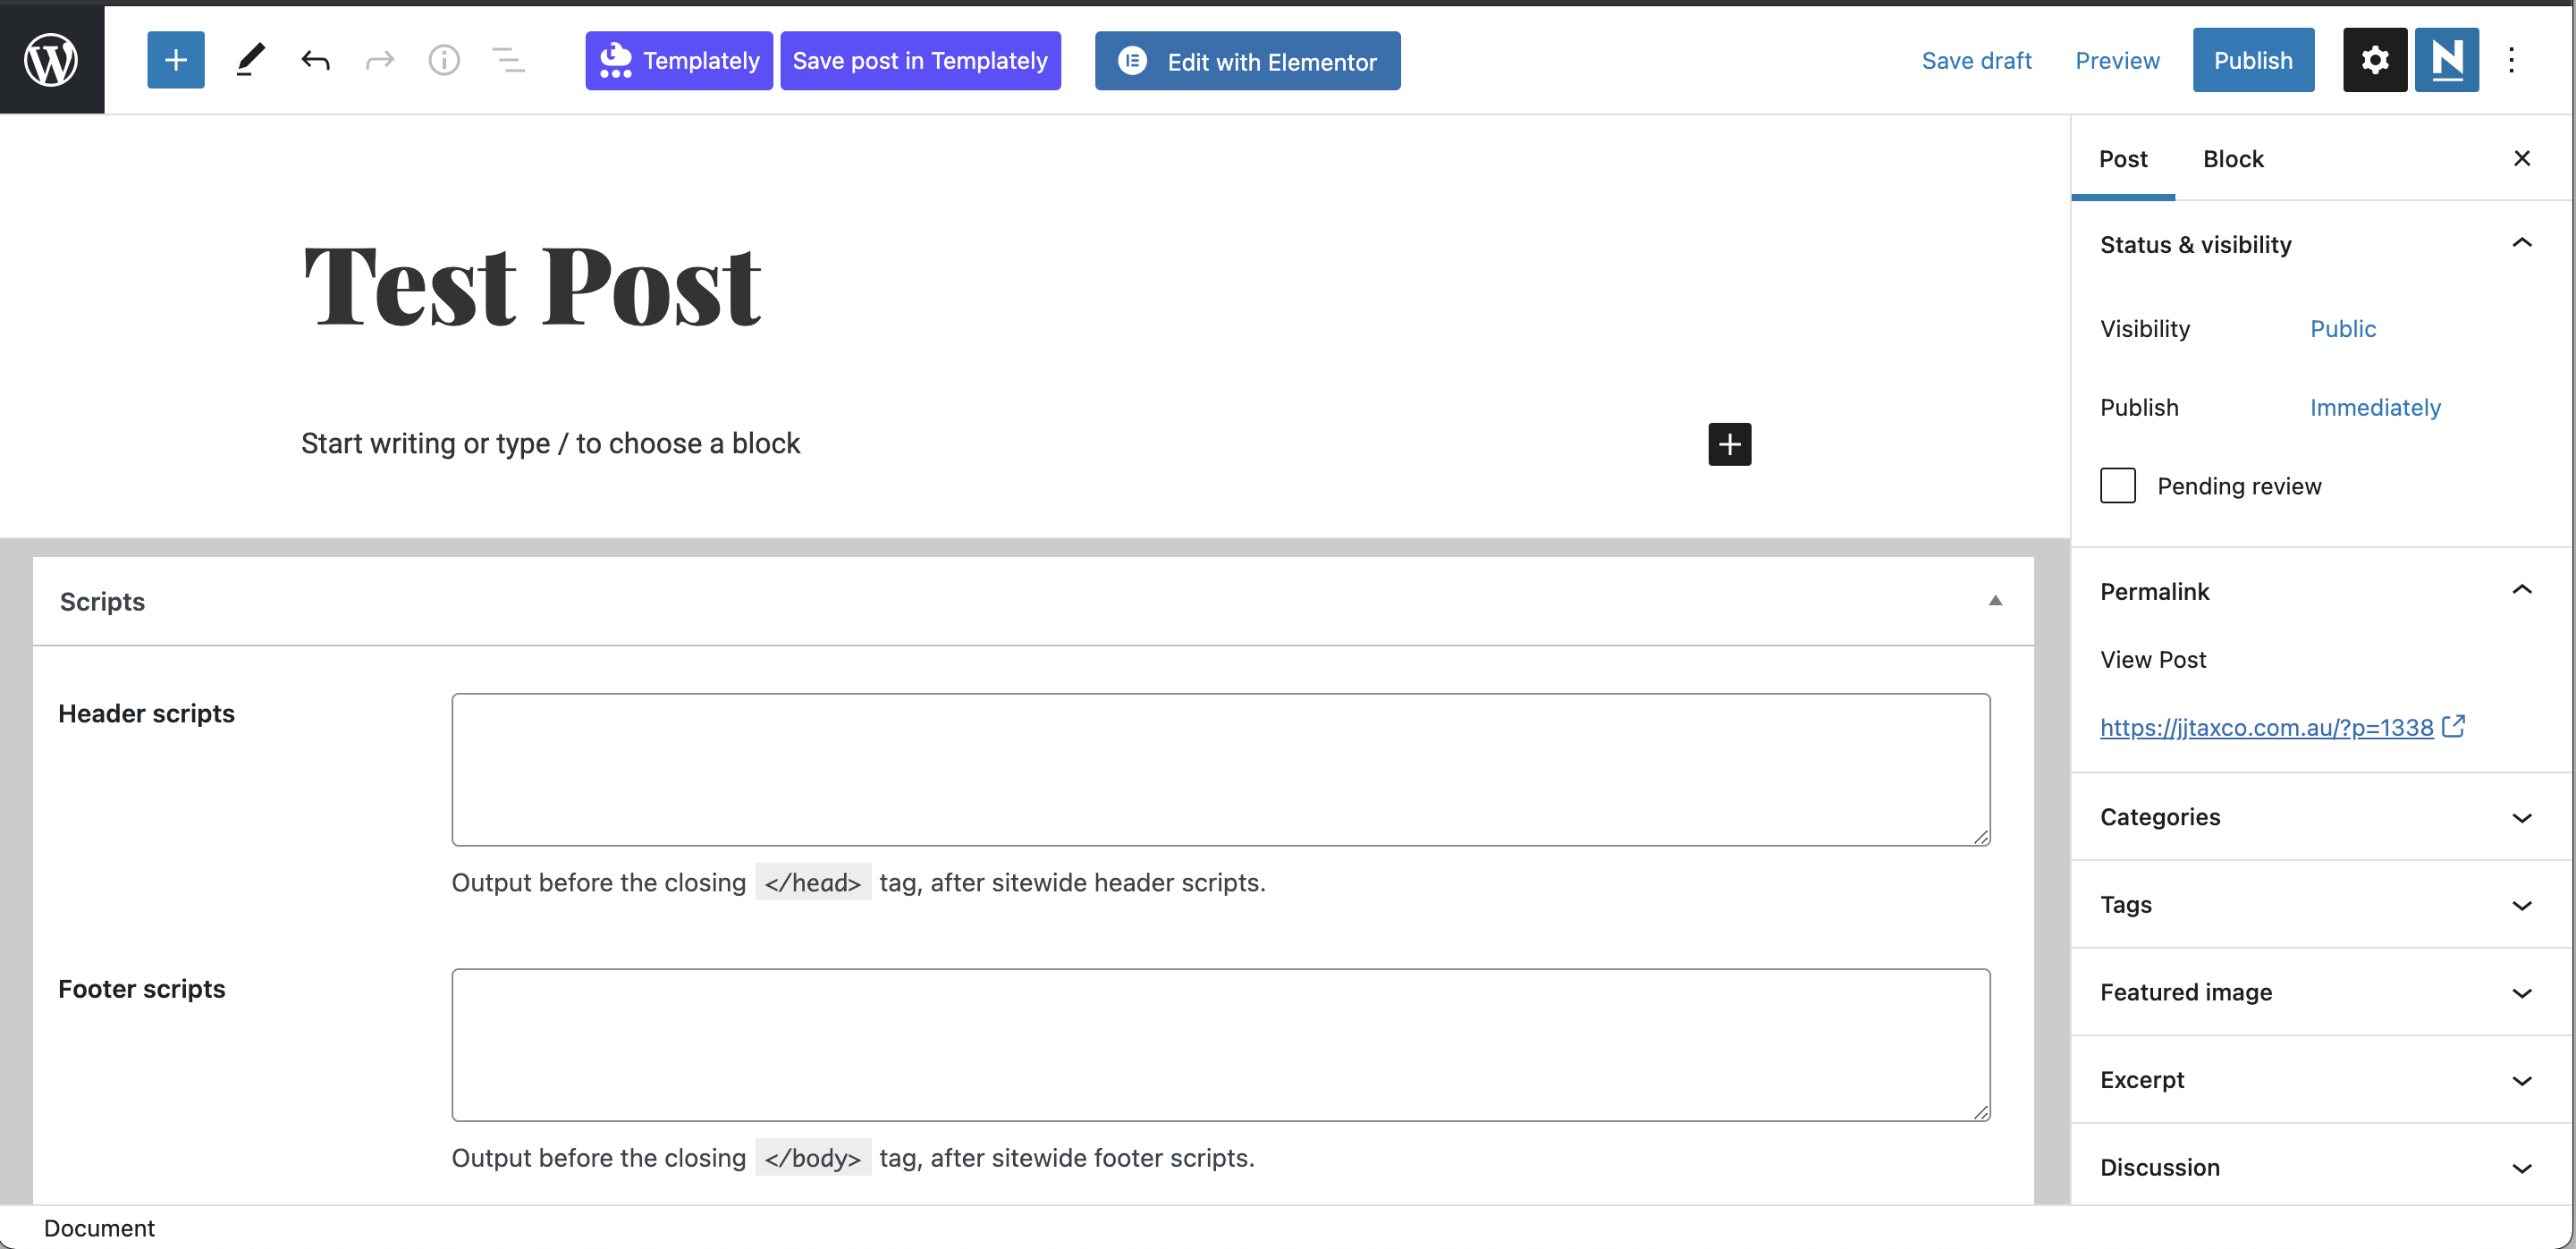
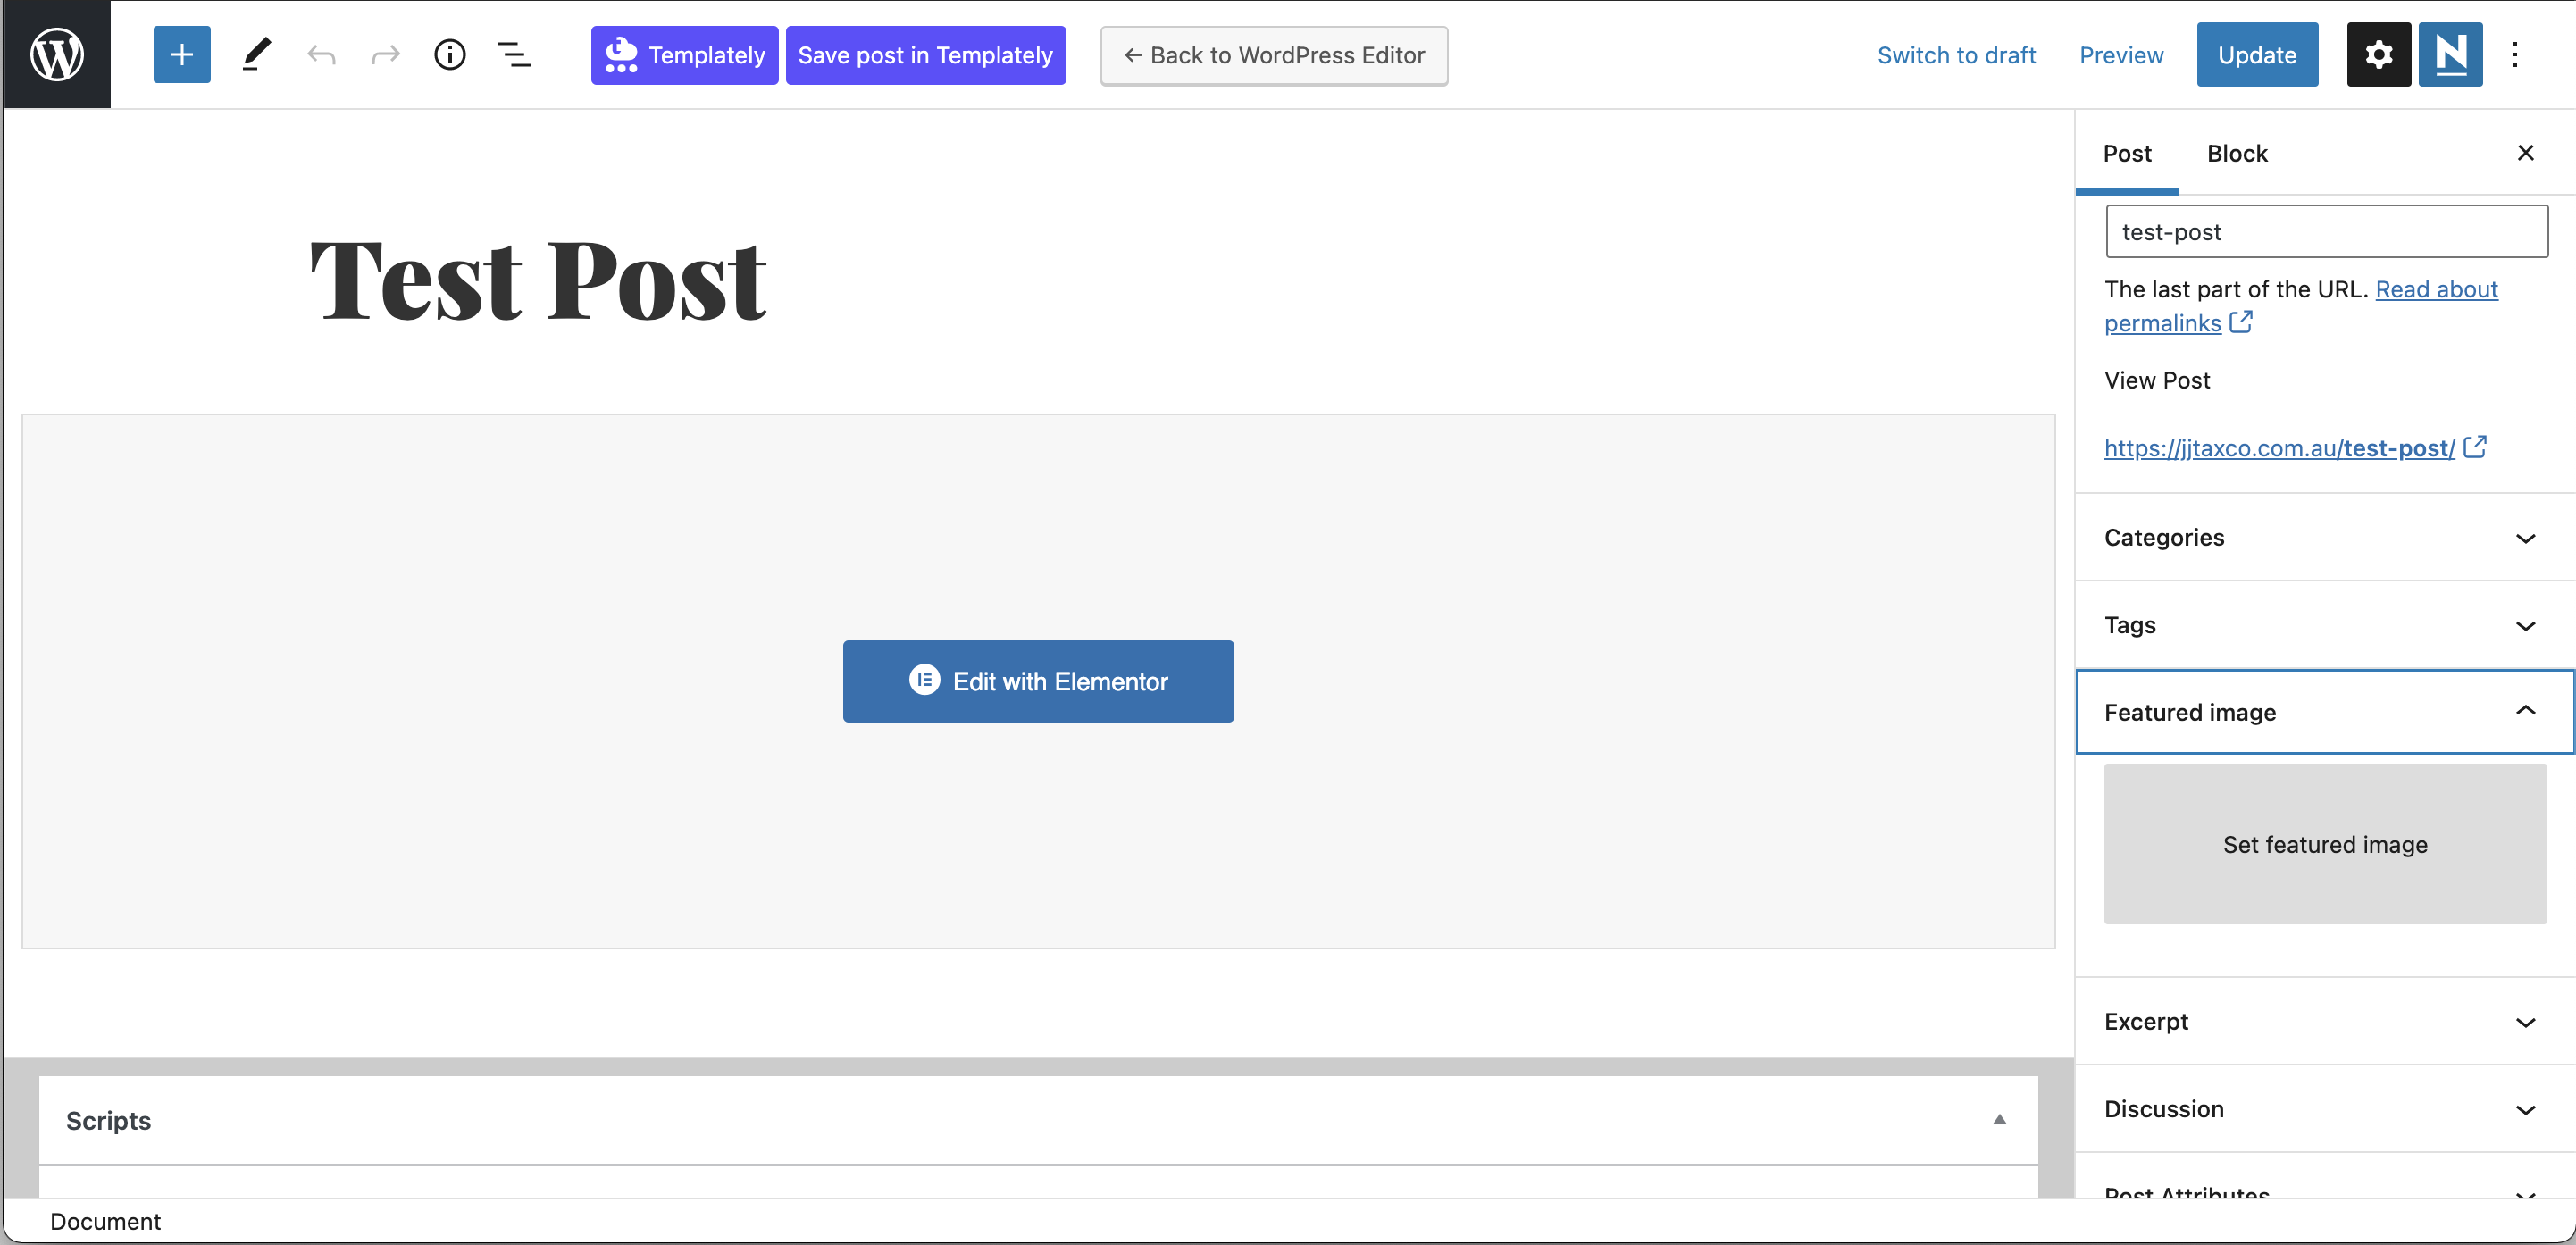
To choose the featured image, you can select one from the library or you can upload any pictures from your computer.
Edit the post page
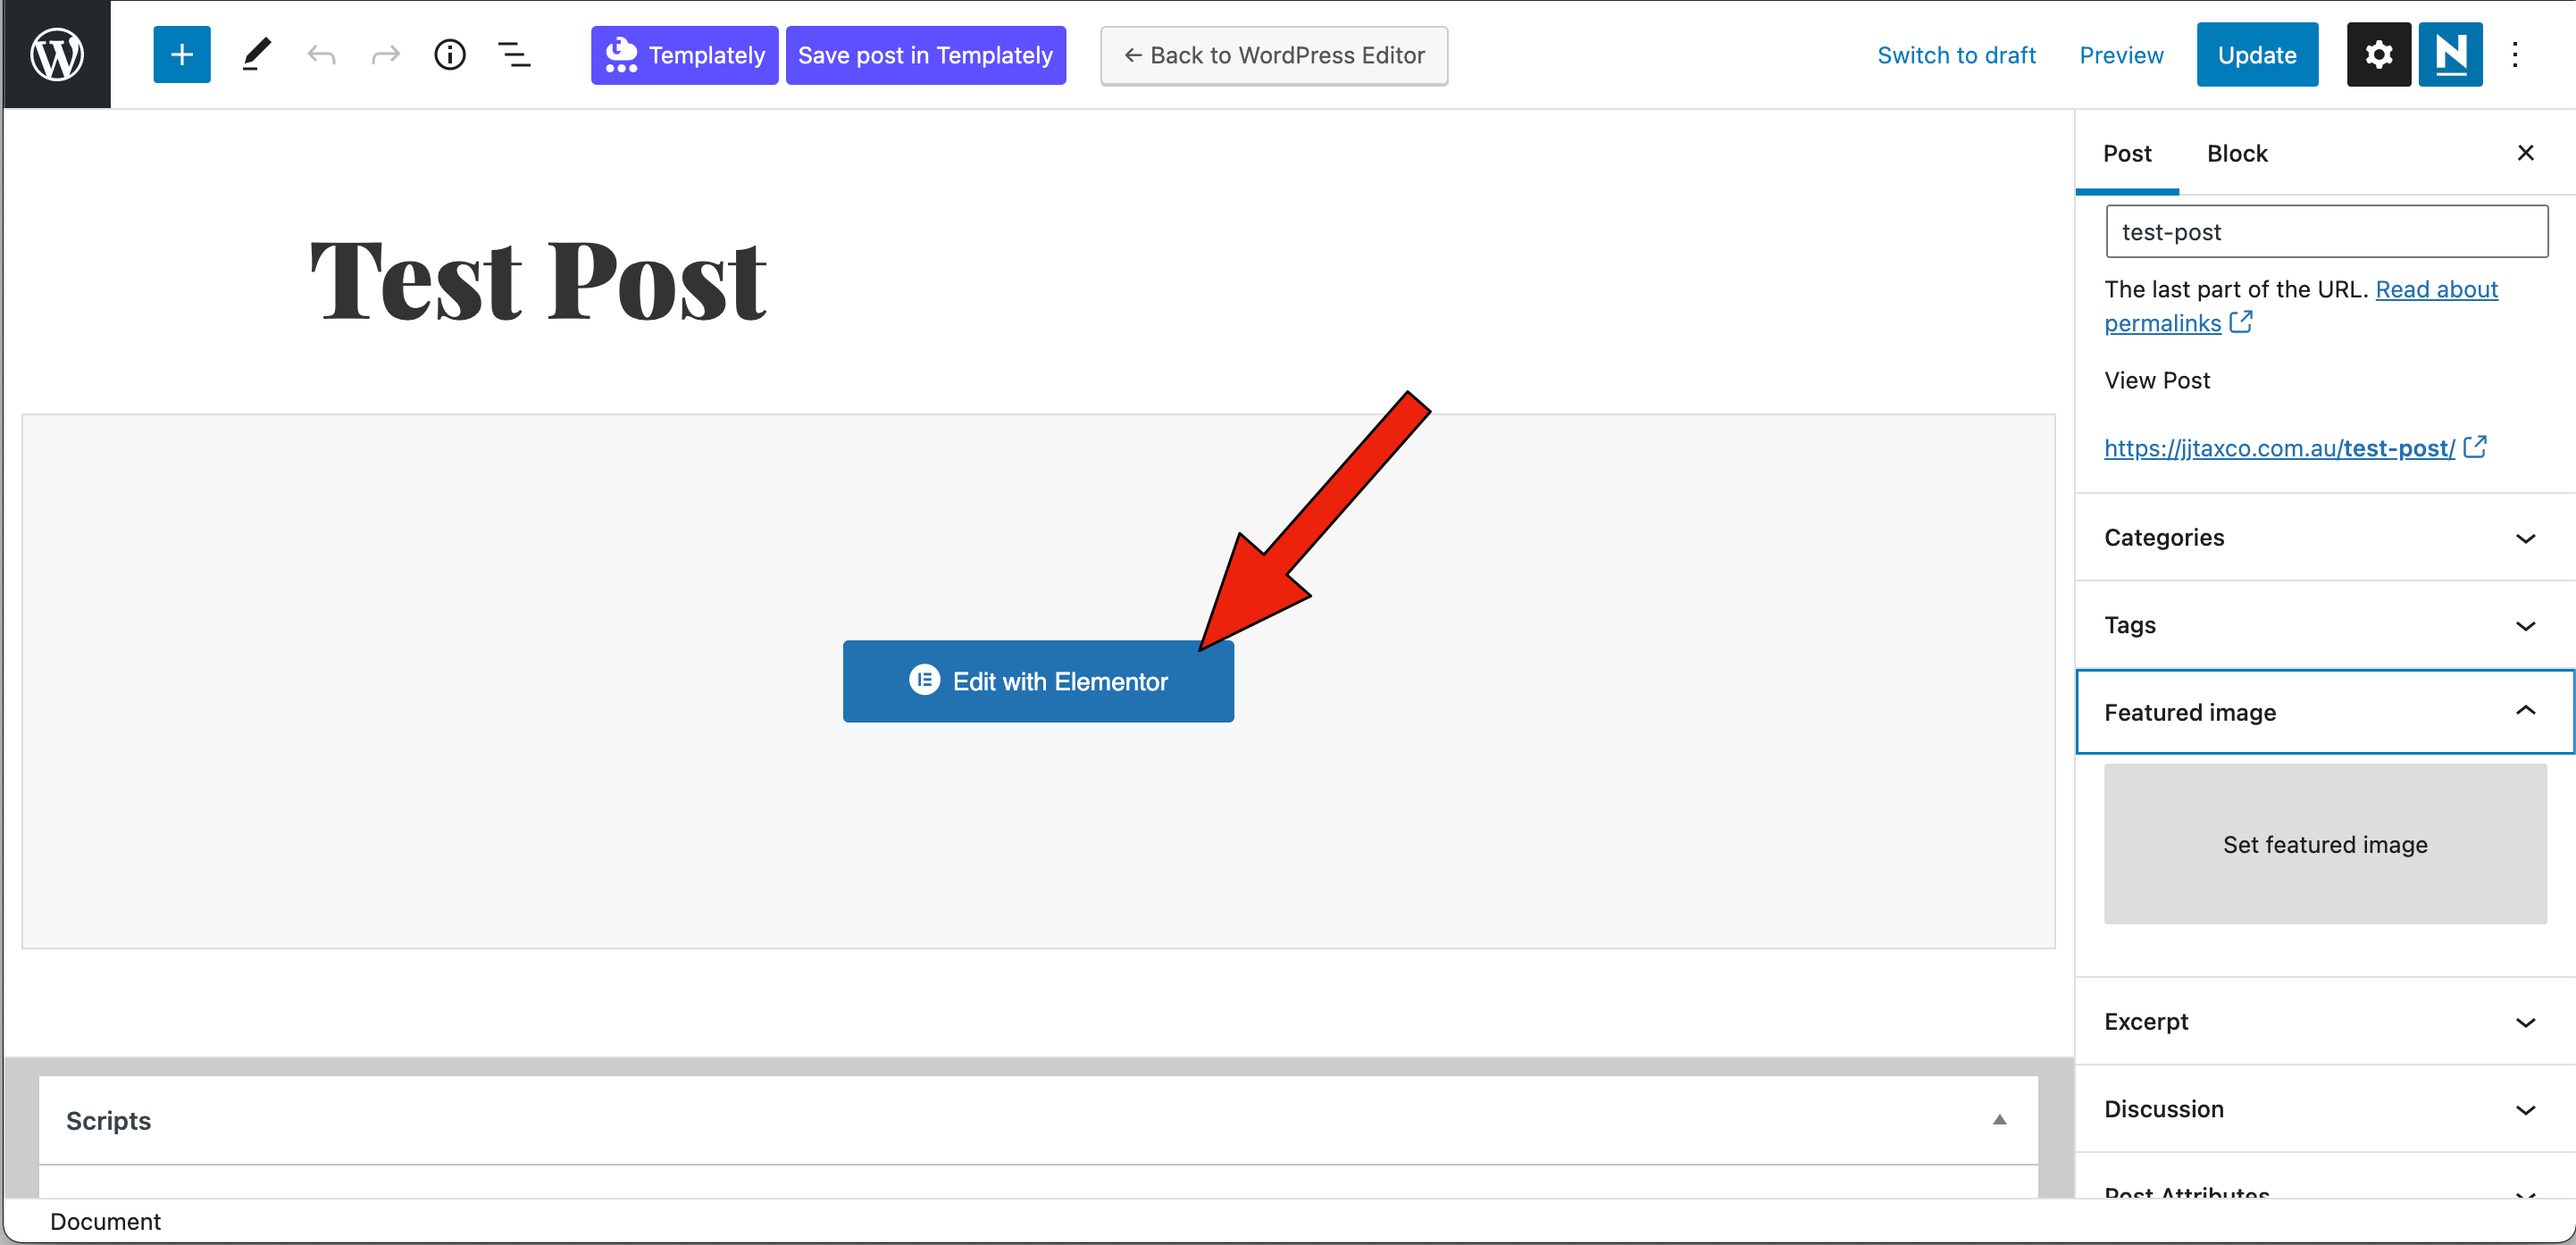
After setting up with the title and the featured image, you can click the “Edit with Elementor” button to edit your post.
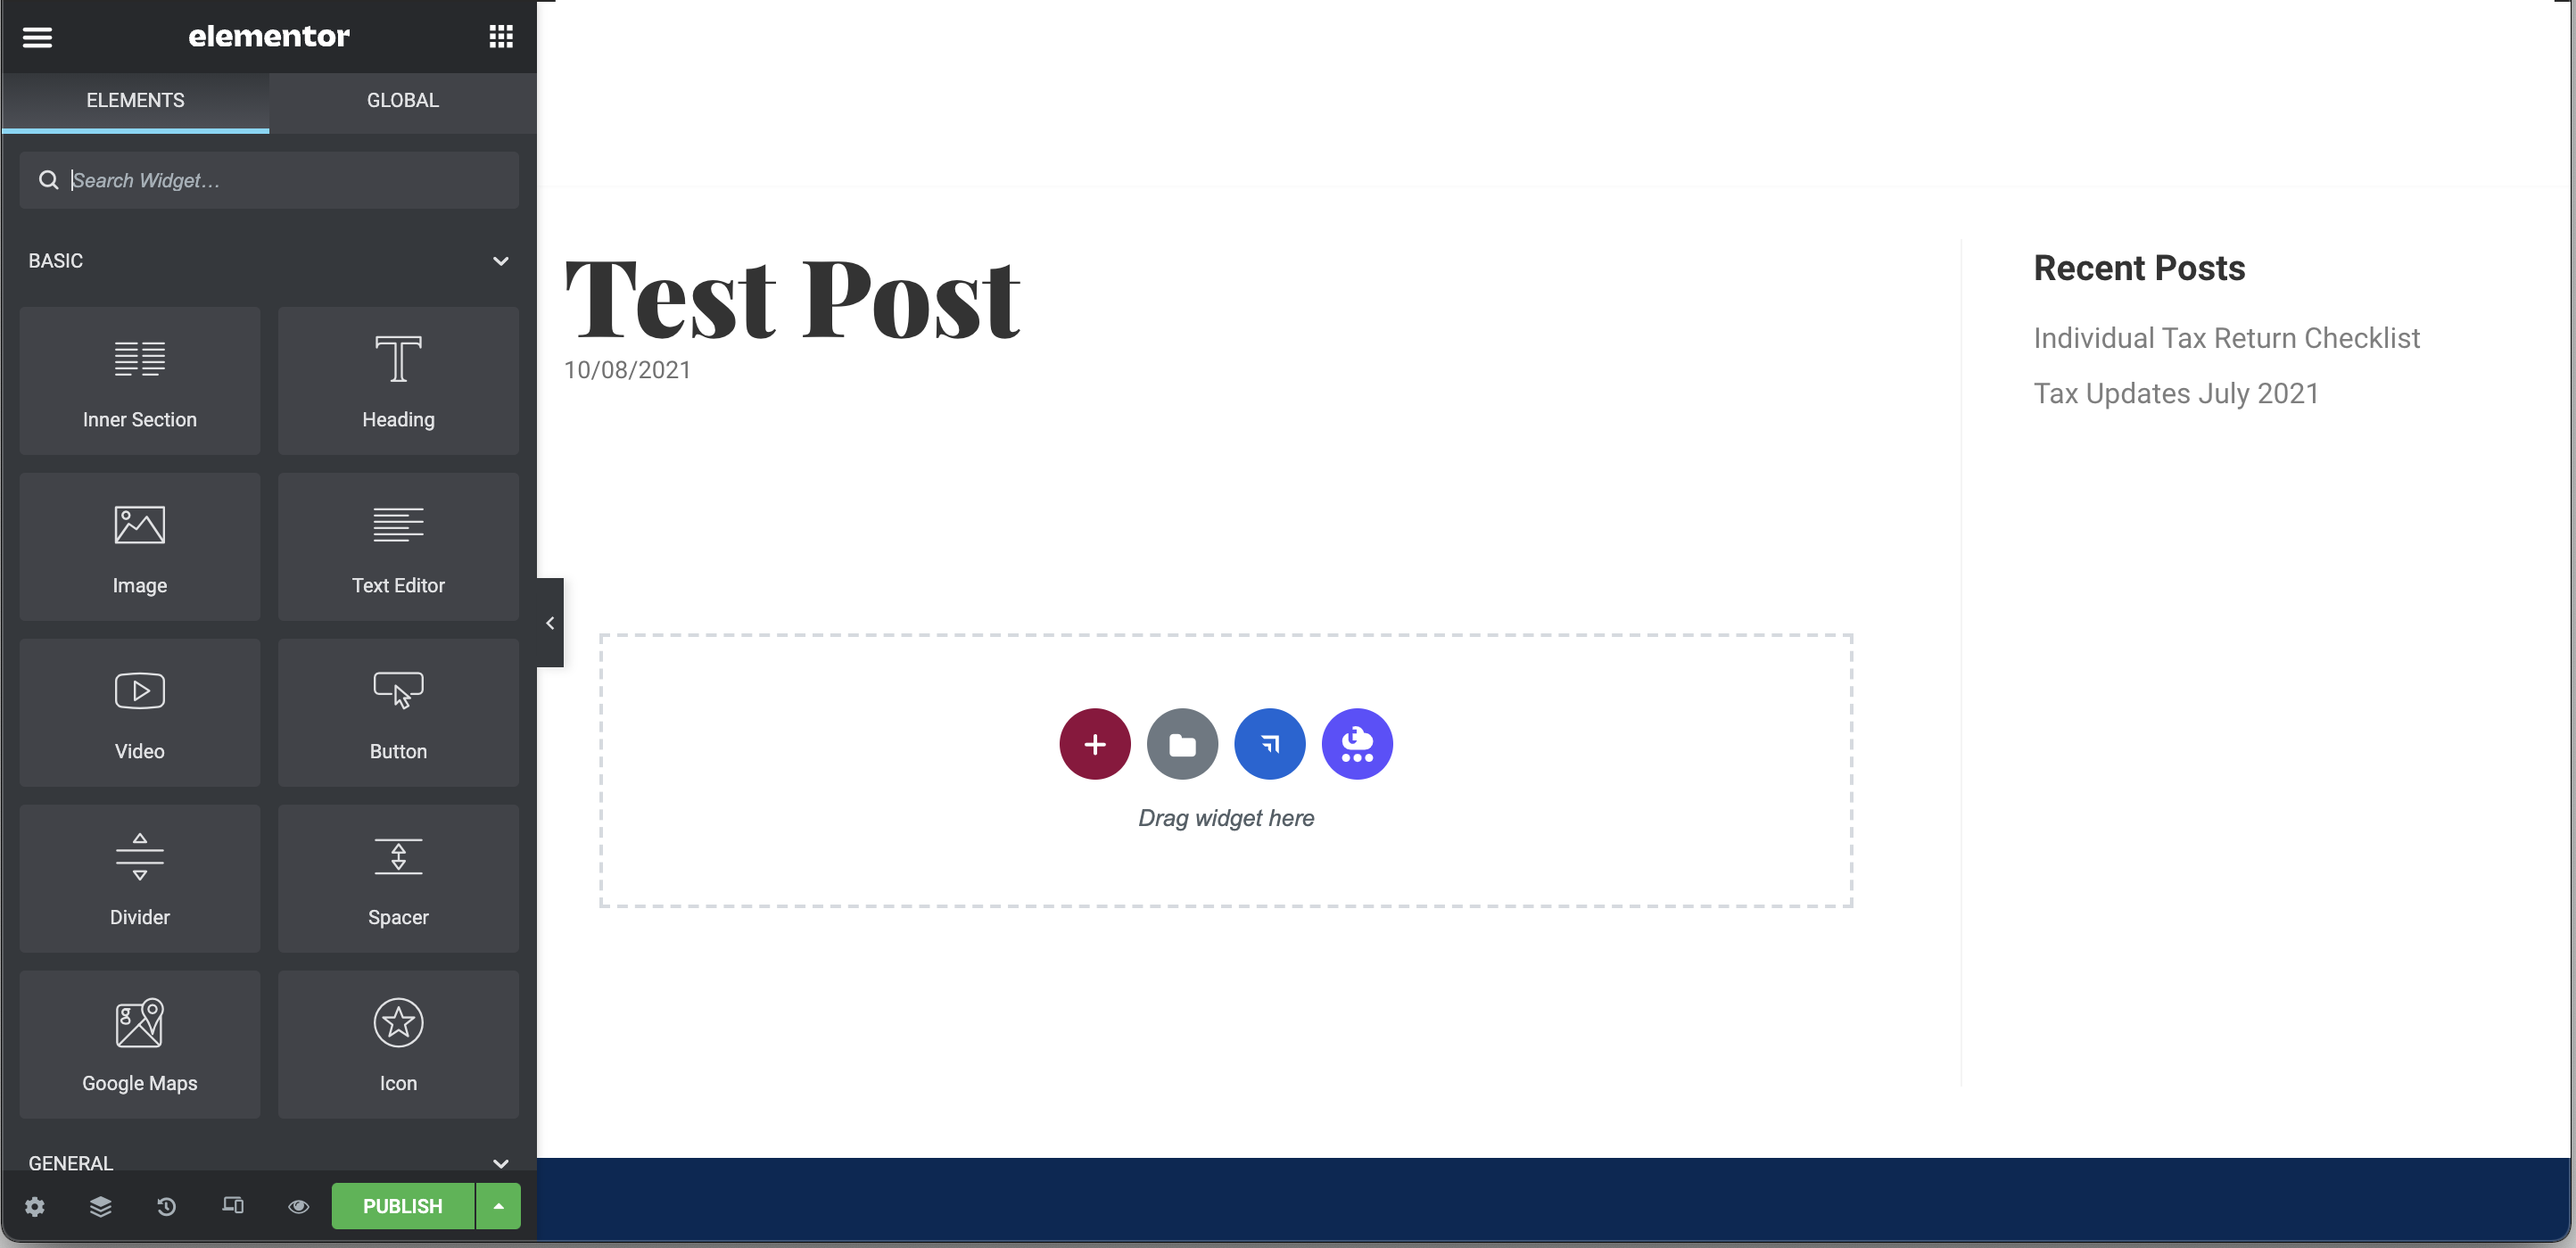
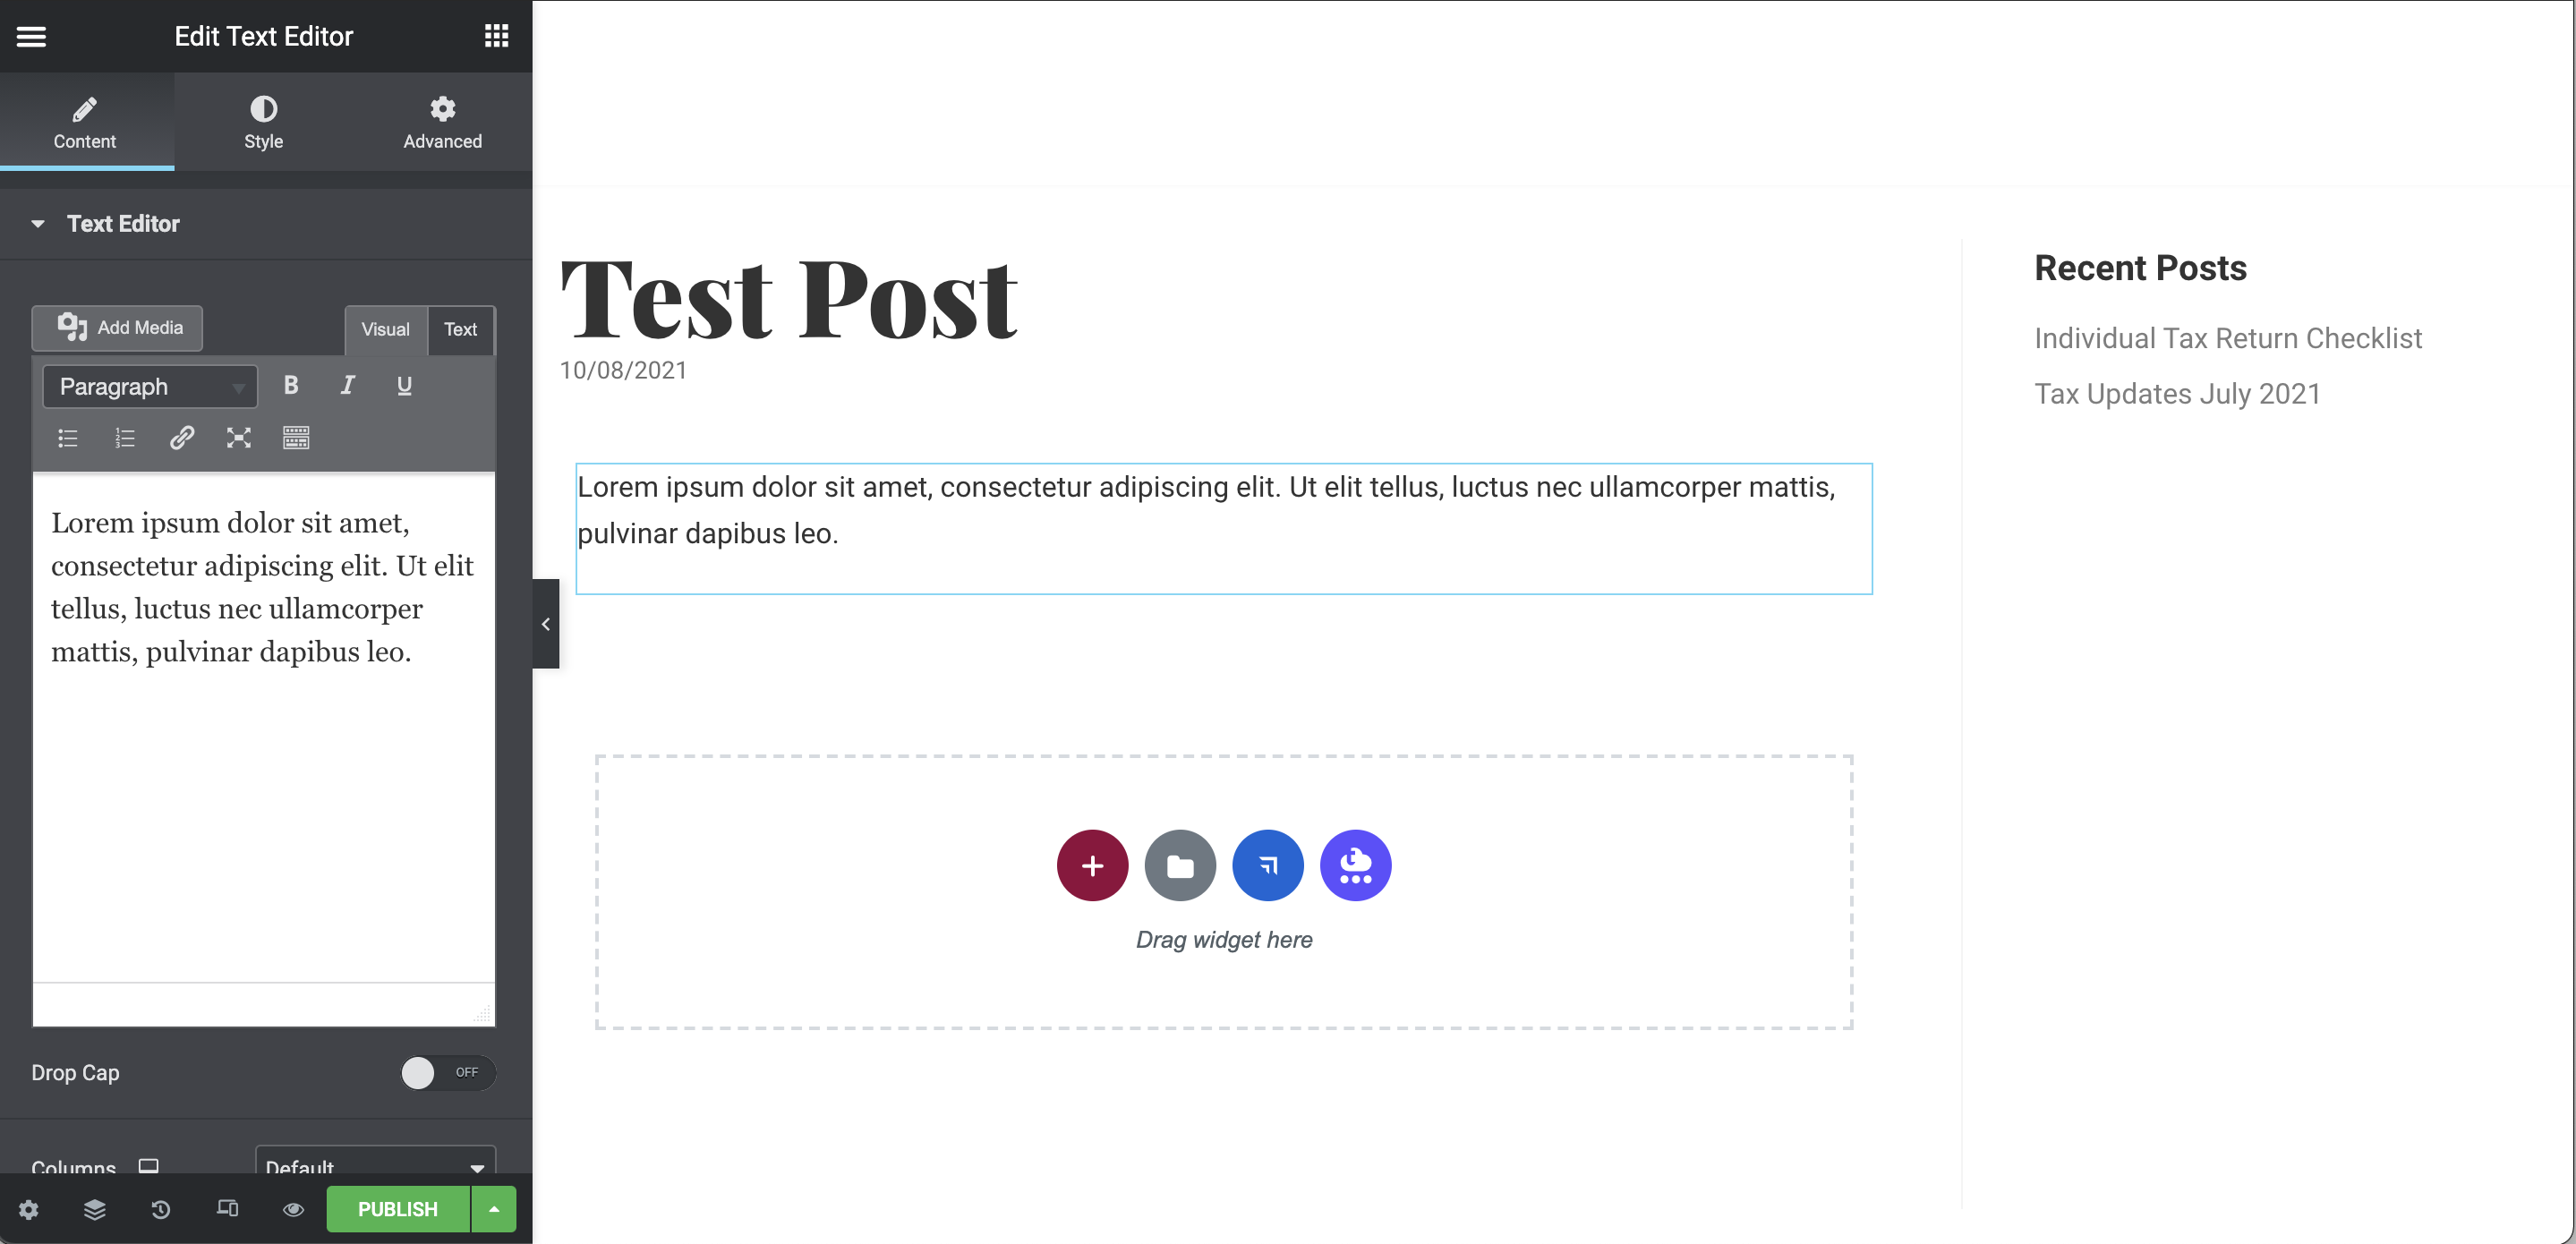
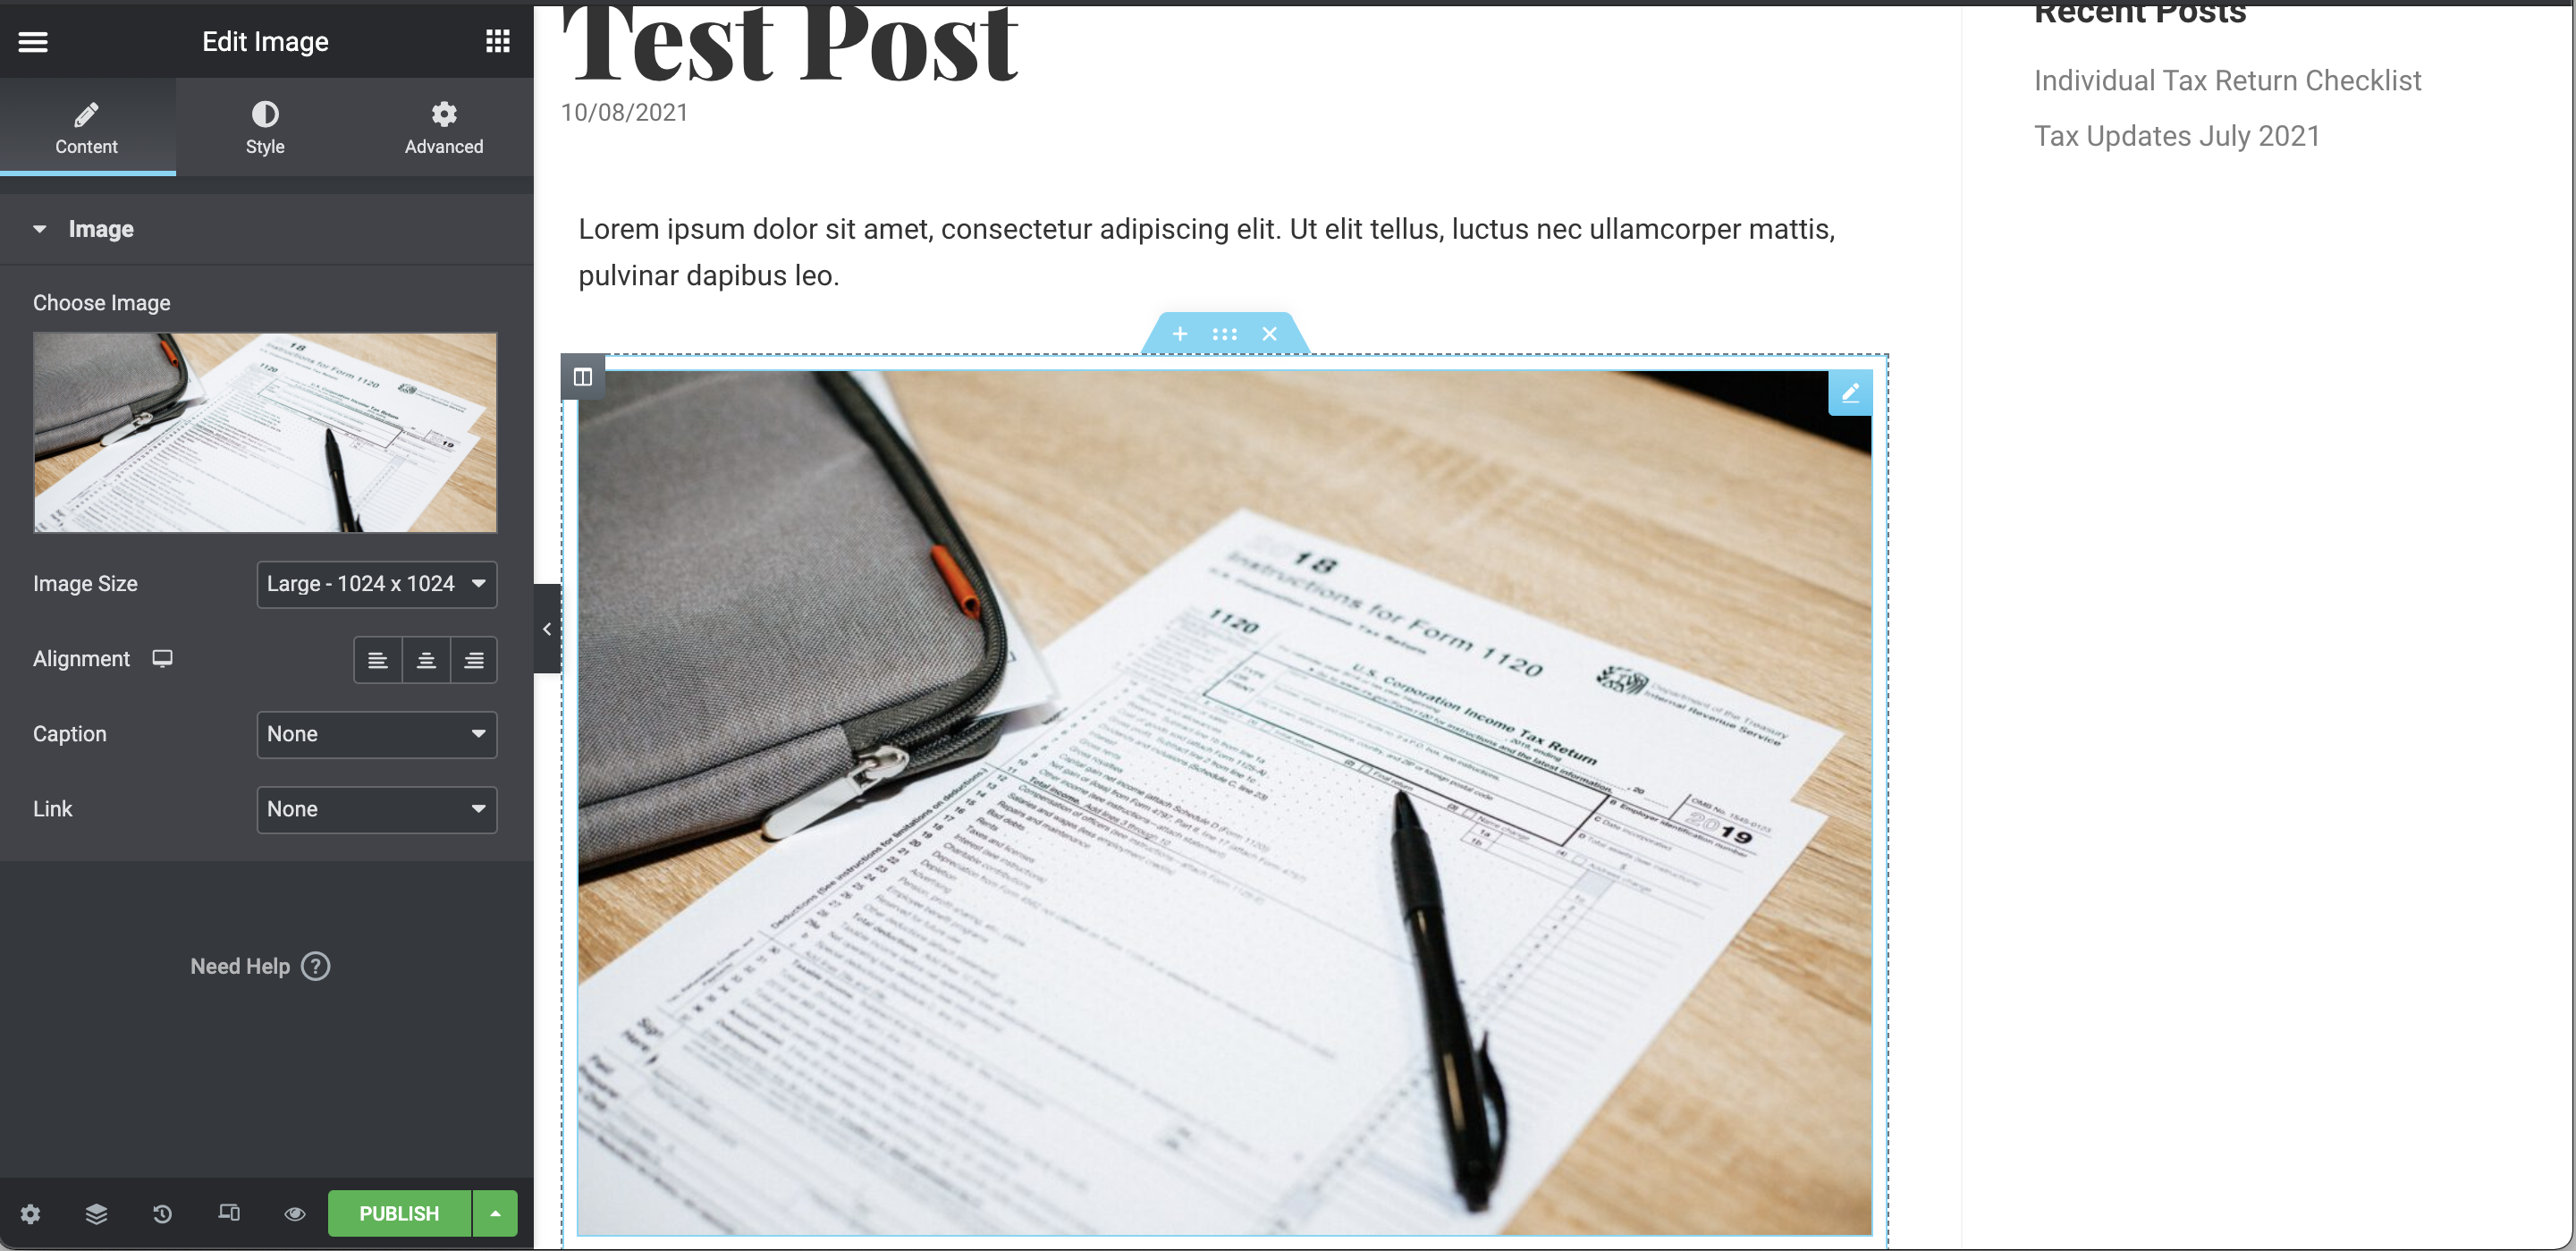
In the “elementor” page, you can select one of the elements fro m the left panel to structure the content in your post. It can be headings, paragraphs, images or videos.
Publish the post
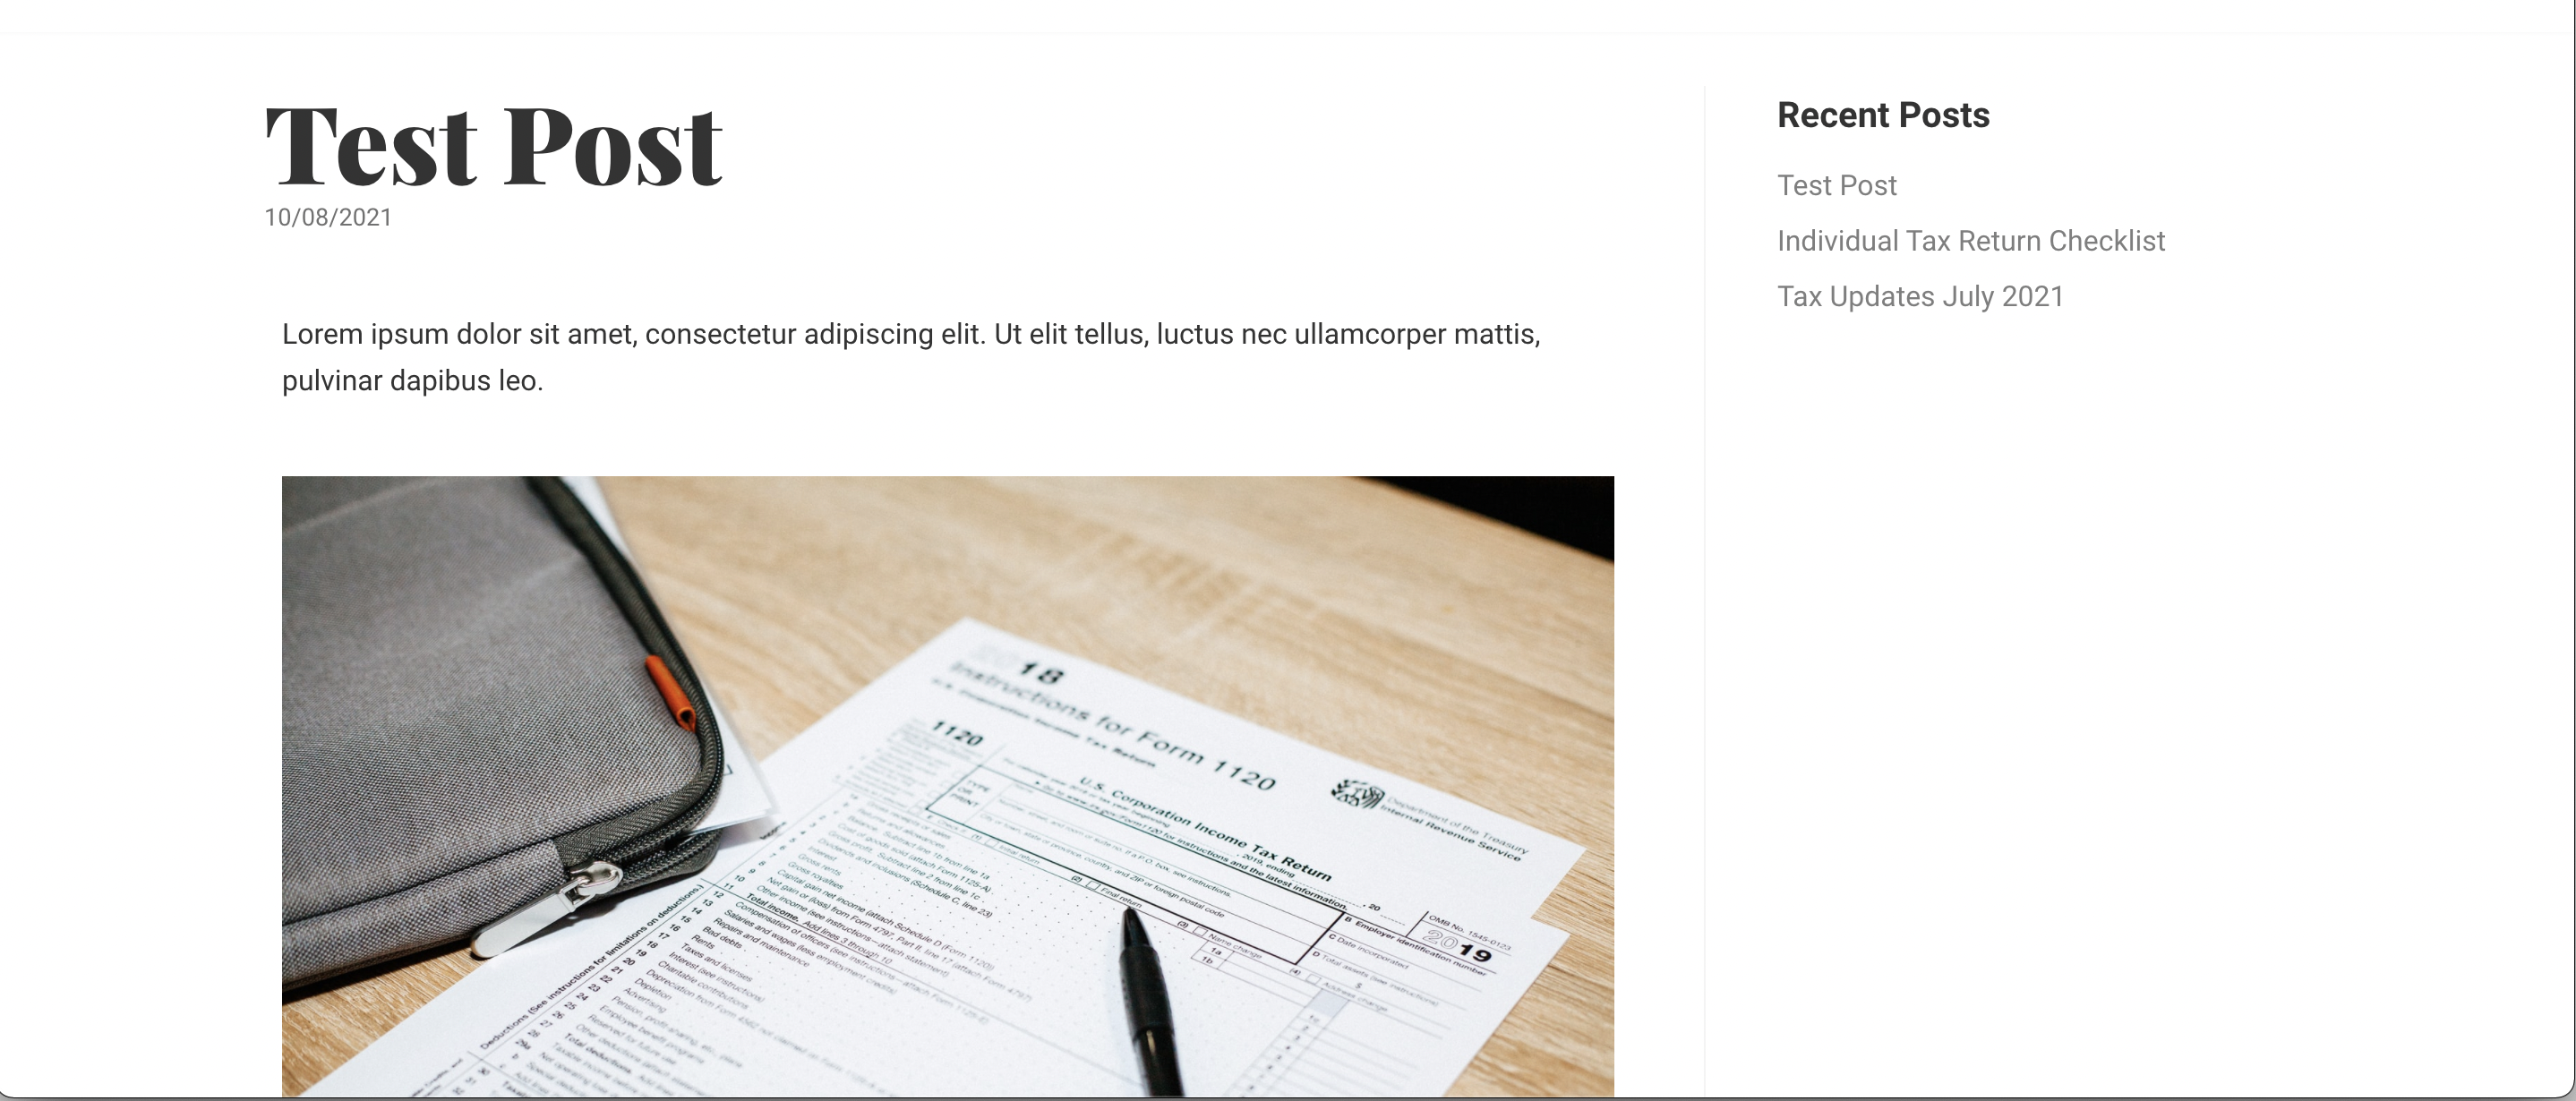
When you finished the post, click the “Publish” button, your post will be alive on your website.
 William Yu