How to Install Docker in AWS EC2 Instances

Once you have created an AWS EC2 instance, you probably want to deploy your app on it using Docker. So, you might need to install Docker in the EC2 instance first.
Firstly, you need to connect to your instance via SSH. Once connected, you will see the command line in your terminal:

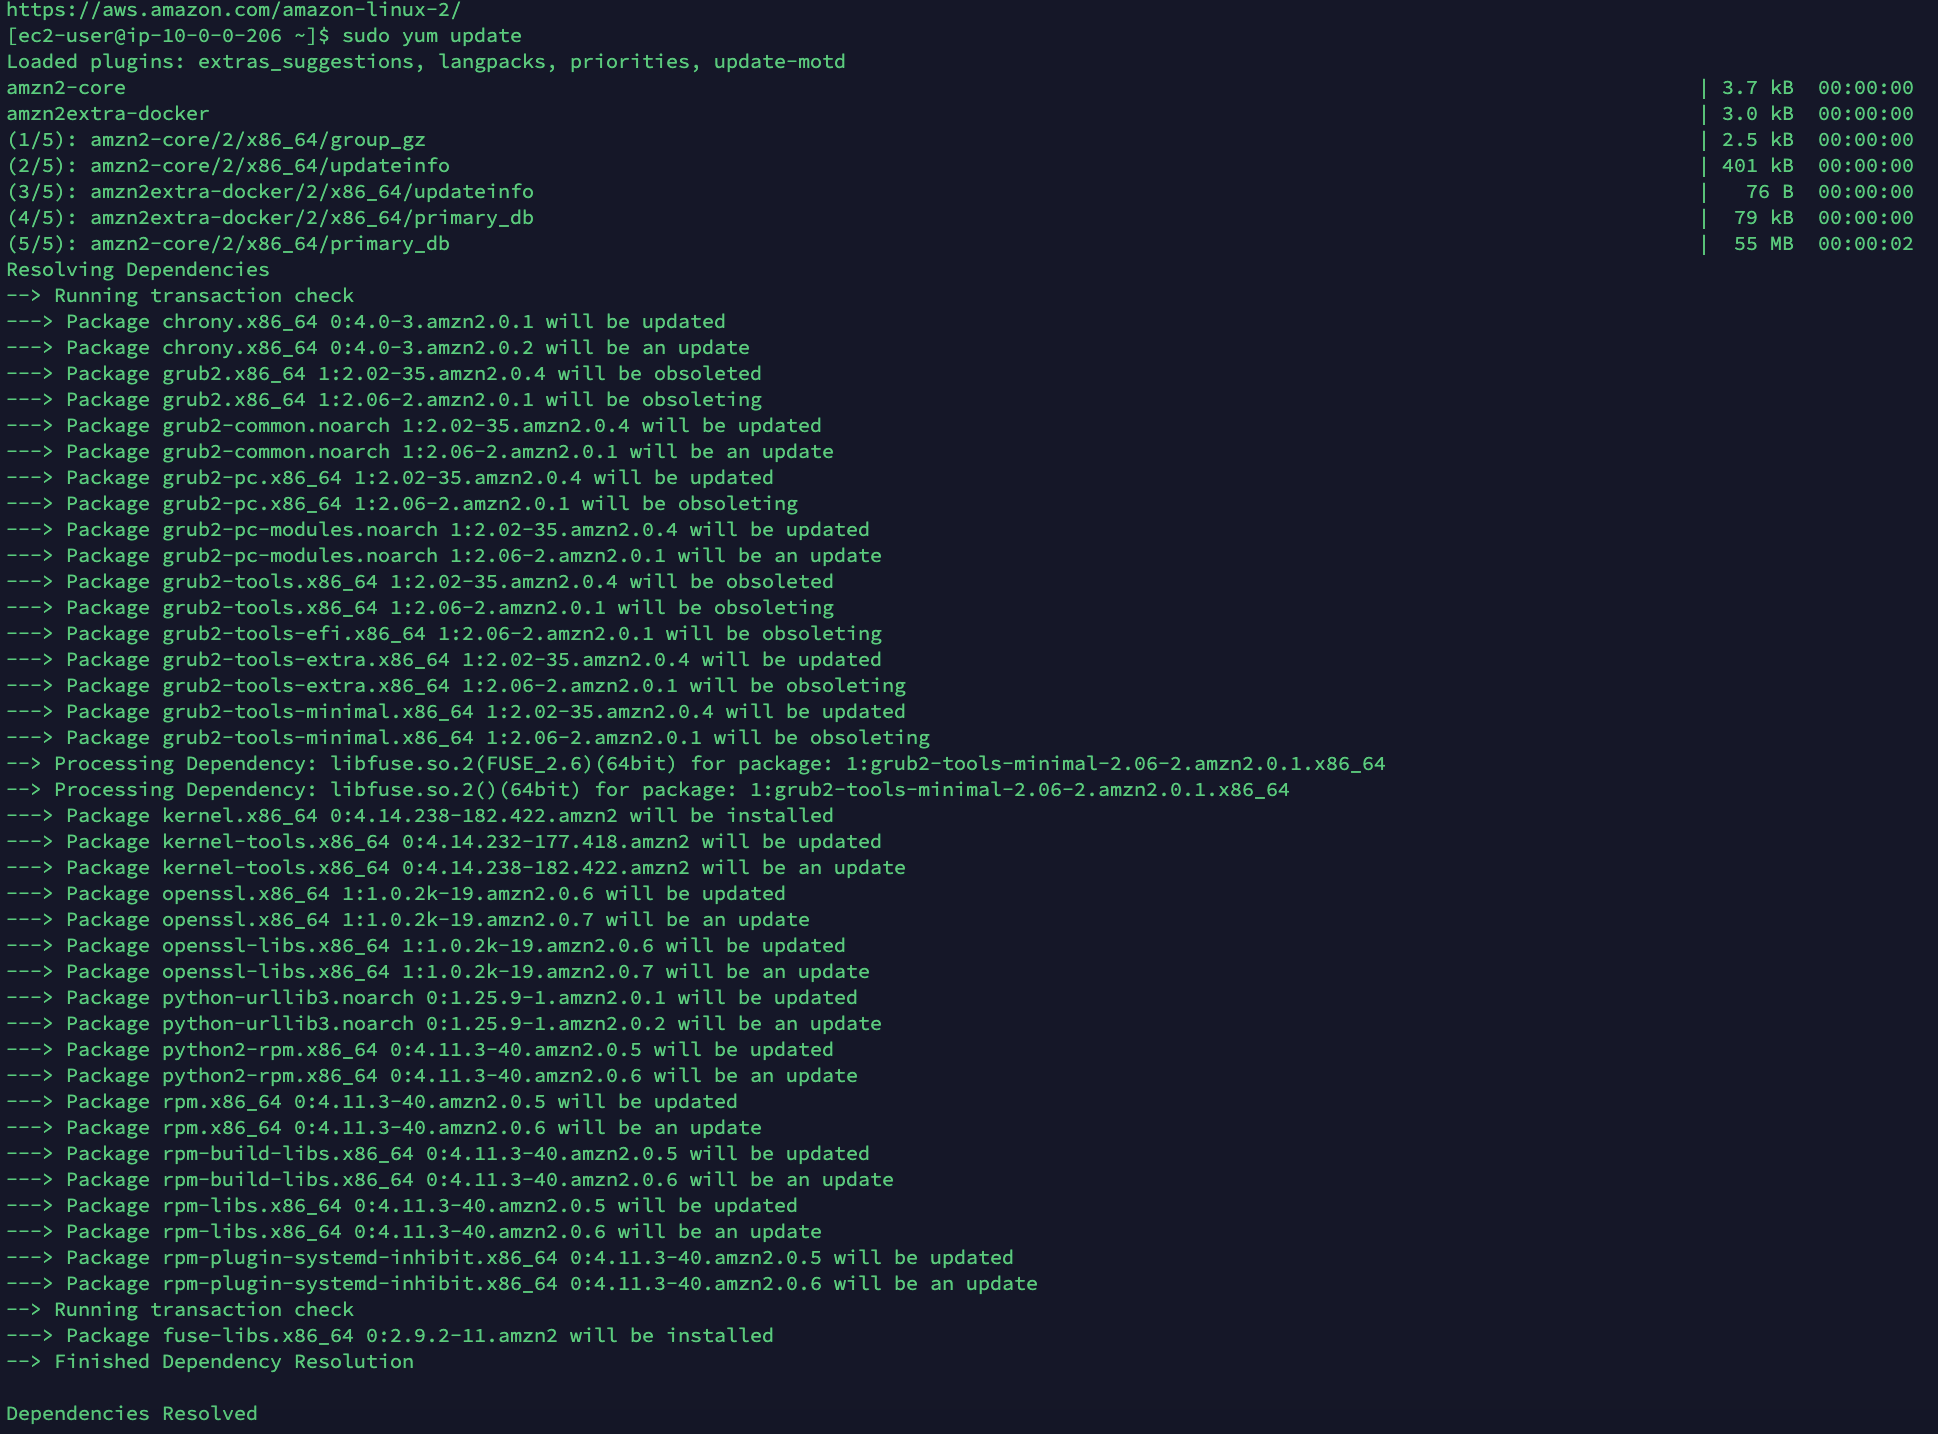
Before installing Docker, you may need to update the installed packages and package cache on your instance.
sudo yum update -y
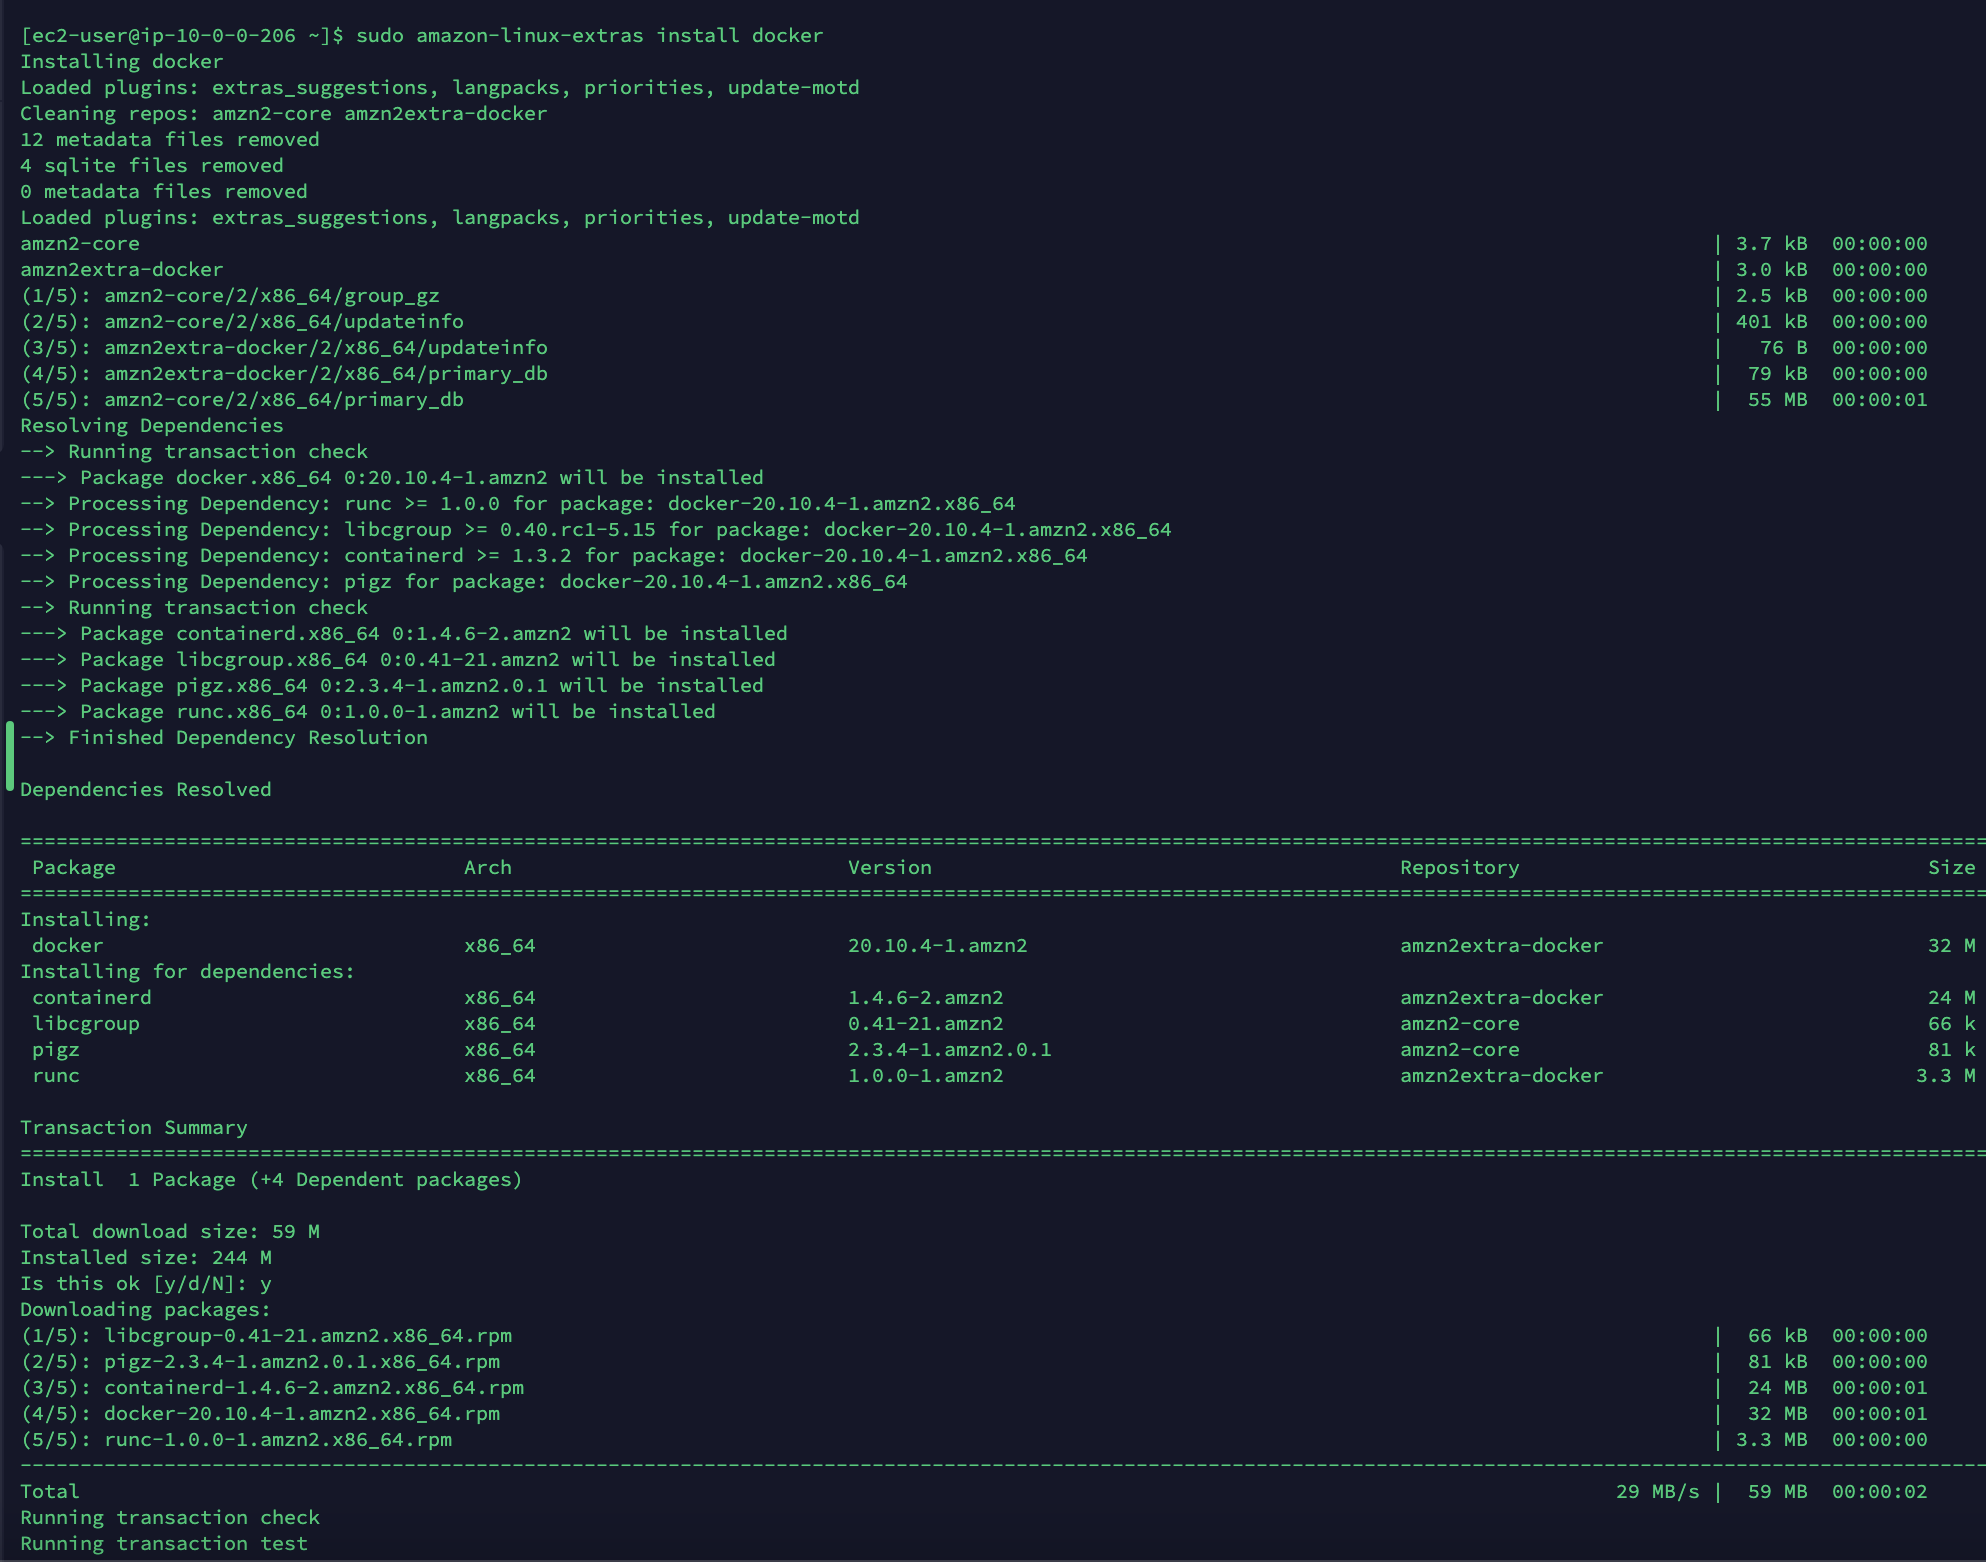
If your instance is Amazon Linux 2, using the command to install the most recent Docker Engine package.
sudo amazon-linux-extras install docker
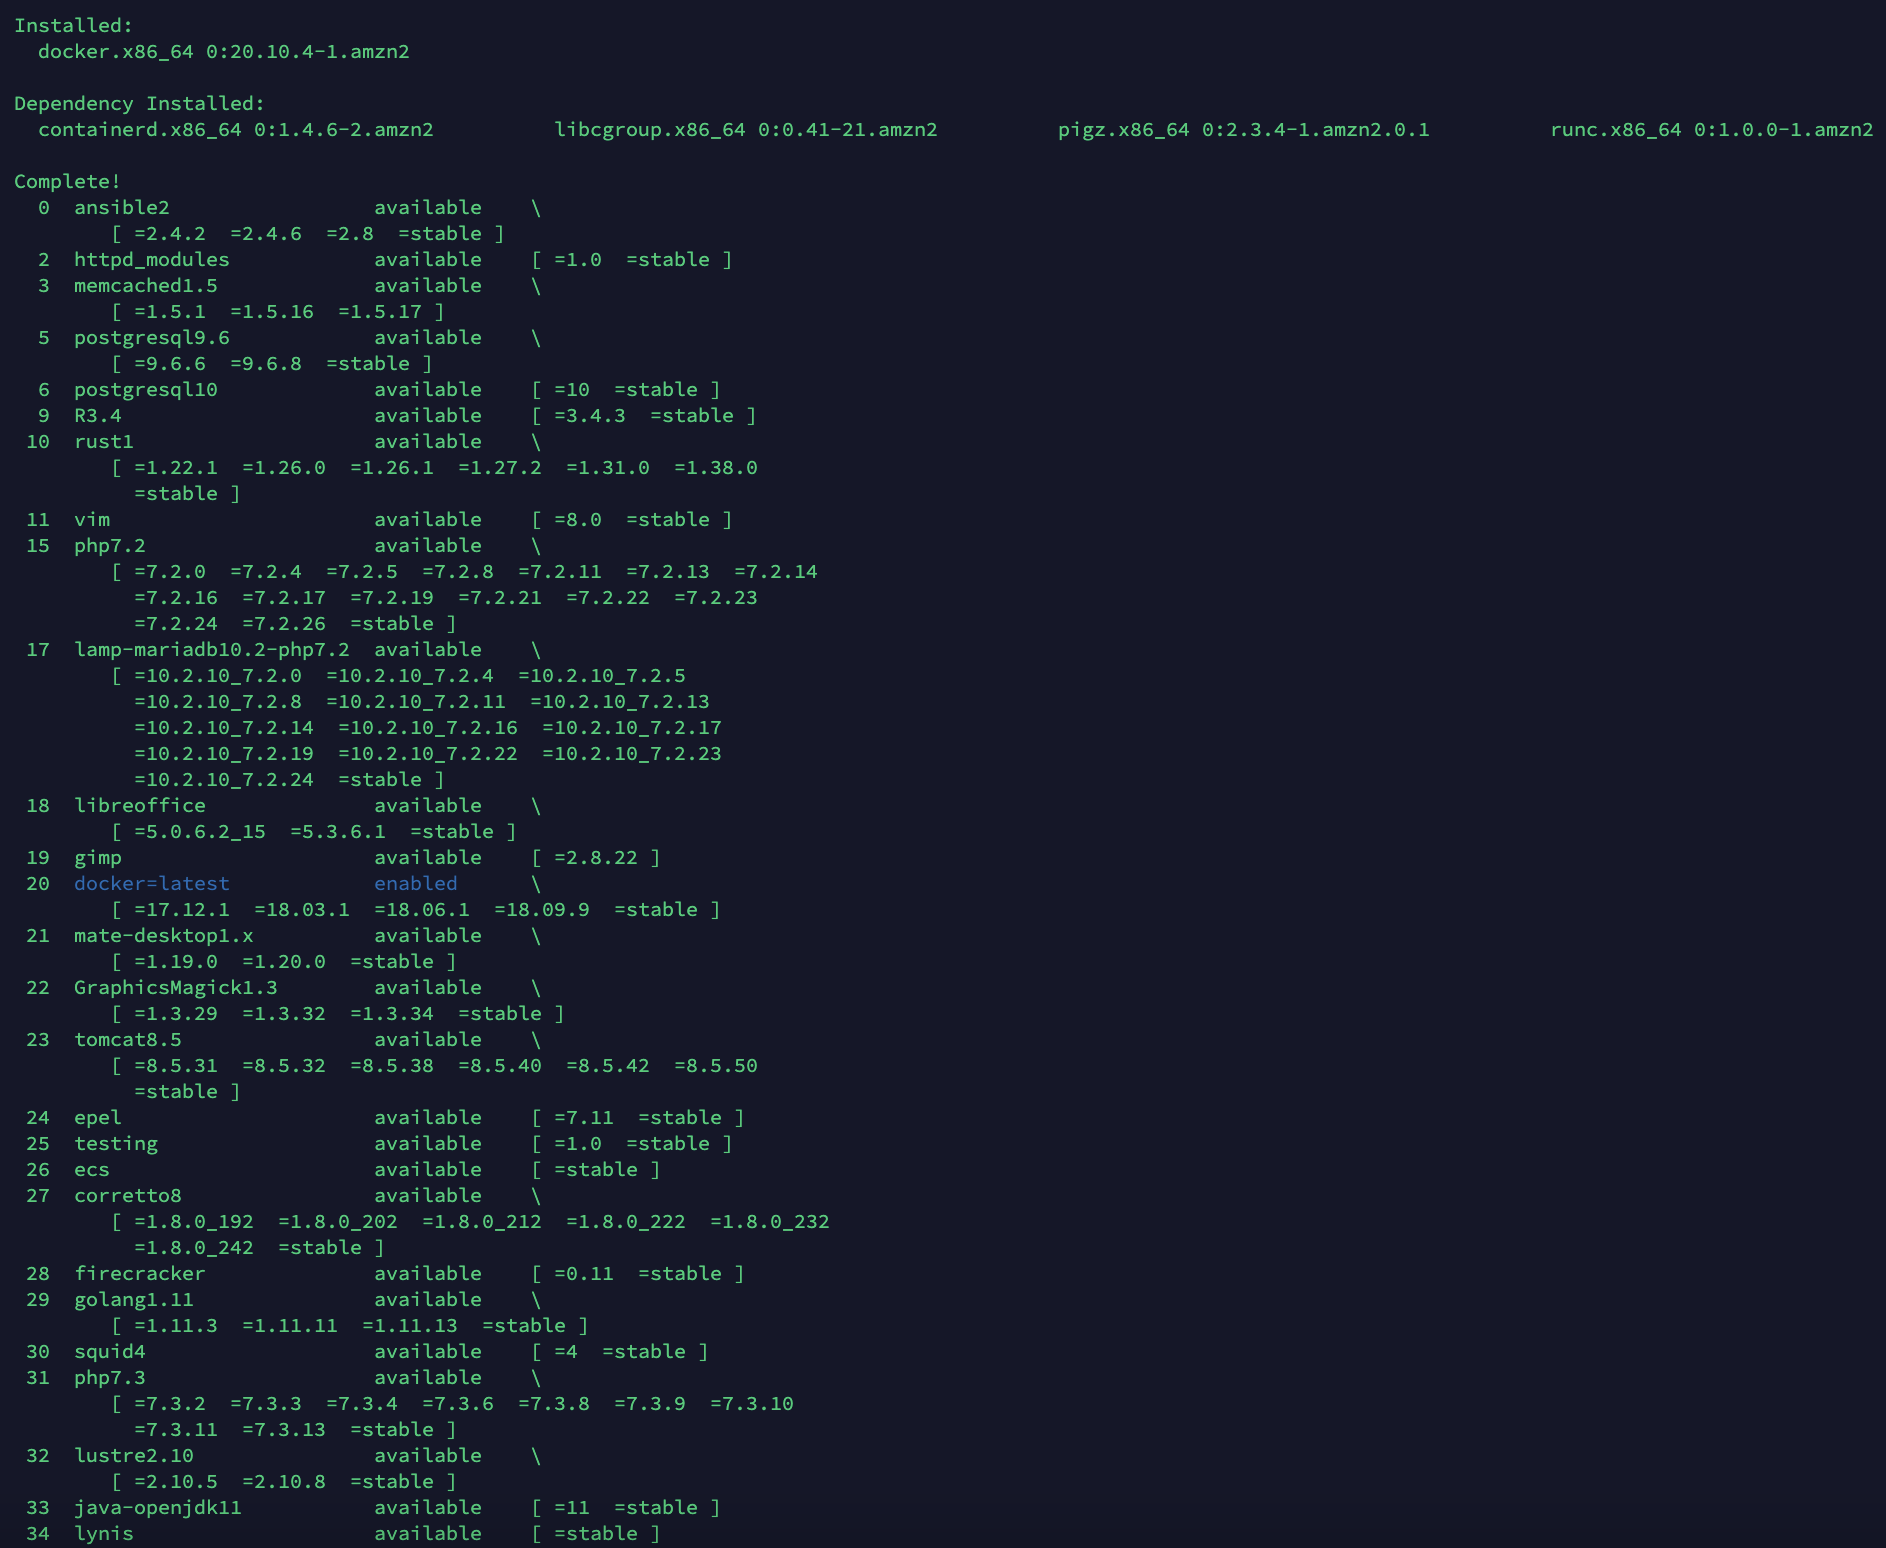
You will see the info about the installation successfully.

Now, you can start the Docker service.
sudo service docker startIt is recommended to add the ec2-user to the docker group, in order to execute Docker commands without using sudo.
sudo usermod -a -G docker ec2-userHowever, if you want to verify the Docker commands now, you may get this error.

To solve this issue, it is required to log out and log back in again, so new docker group permissions can be picked up. To achieve this, just close your current SSH terminal window and reconnect to your instance. The new session can have the permissions.

Now, you successfully install docker in your AWS EC2 instances, you can play with Docker now.
 William Yu


